Got out for a little touge running Friday.
650km odd and more than a little wet. But a great day with top wingmen and oodles of twisties! Cheers for the laughs Gents 👍
(more…)Got out for a little touge running Friday.
650km odd and more than a little wet. But a great day with top wingmen and oodles of twisties! Cheers for the laughs Gents 👍
(more…)Was out scouting the route tonight with some fellow twistybutters and got evidence of something many a twistybutter has long suspected… Twistybutts can lead to steaming hot tyres!
Rolled into Ebina SA @5am to meet up with another Twistybutter only to find I was the only bike there. Over the next 1/2 hour, the bikes started rolling in.
With a coffee down and the sky lit, we scooted across the carpark to top off the tanks before setting out. I’d fueled up the car the day before at my local for 122yen/litre. Ebina SS with its great service was making us pay for it, 145yen/litre!
(more…)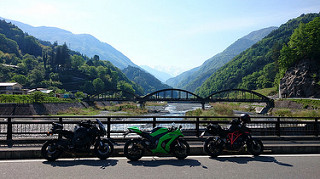
500kms of great weather with two of my best wingmen, one a hammer swinger and the other reads a book at gas stations!
(more…)
Over 5 days we potentially have 2000+km of twisting winding and undulating roads to scout out and get lost in. Also, there is great riding and many sights to see in the area so feel free to go free-range if that’s your thing. Or, if you do want to split off mid day and find your own way or head back to base for a rest, go for it! We’ll be meeting back at base every night for a feed and festivities.
Departing April 30 4:50 am from Sagami Bay on the Pacific Coast!
April 30 – Full 500+km of twisting and winding all the way from the Pacific coast to the Sea of Japan.
May 1 – Riding the long way down into Naganao to set up a base for 3 nights. @400km
May 2 to 4 – Riding long daily loops out through the mountains of Niigata, Nagano, Gunma and Yamanashi. @400km/day
Accomodation
April 30 – Hotel in Joetsu. Exact location and price to be decided. Will depend on numbers and availibility. Budget 6-8000yen.
May 1 to 3 – Cabins near Ueda, Nagano. 8 person cabin with kitchen, shower and toilet. Futons for sleeping. 3500yen/night + bedding. The cabin grounds has an adjacent campground for those wanting to tent. Onsen facilities are also on the grounds with views of Mt. Asama from the outdoor baths!
Joining up
Reply here to register your interest. First in get the choice of spots in the cabins.
Note
For the 500km run on day 1, April 30, we won’t be dawdling or sightseeing. So, if you’ve not done a coast to coast Twistybutt before, please join us in Joetsu that evening or the following day in Nagano.
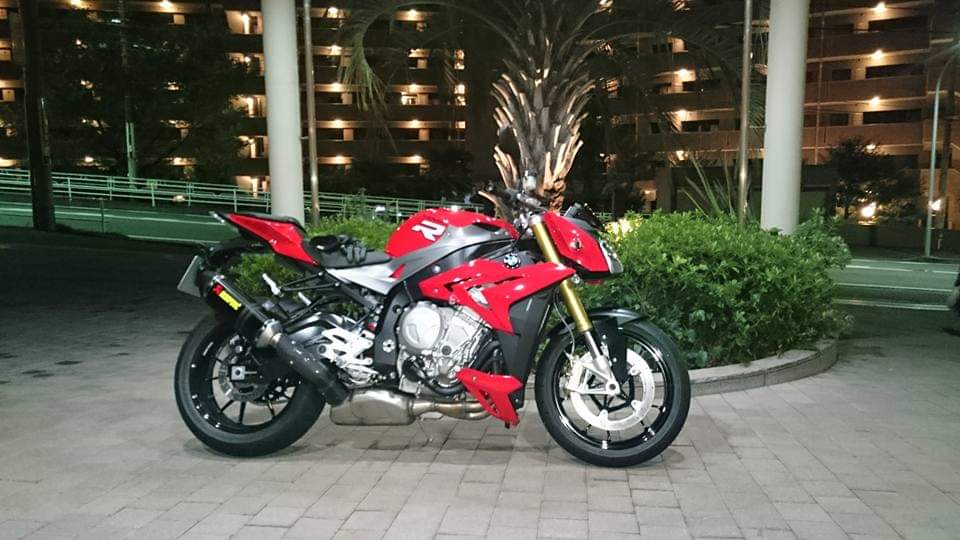
This particular S1000R is the top of the line 2016 model with all the factory options and around 1200km on the odometer. On first impression, it is a little odd looking with a left headlight looking like a boxer that’s taken a few too many right hooks. But everything, as oddly placed and proportioned as it is, has a place and a function. What shall we call this oddball?…
(more…)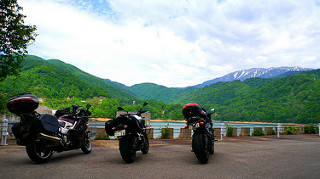
Busted out for 24hrs of riding, eating, yabbering, riding and more riding with 2 great wingmen JamesK and MTMatt. Cheers fellas!
(more…)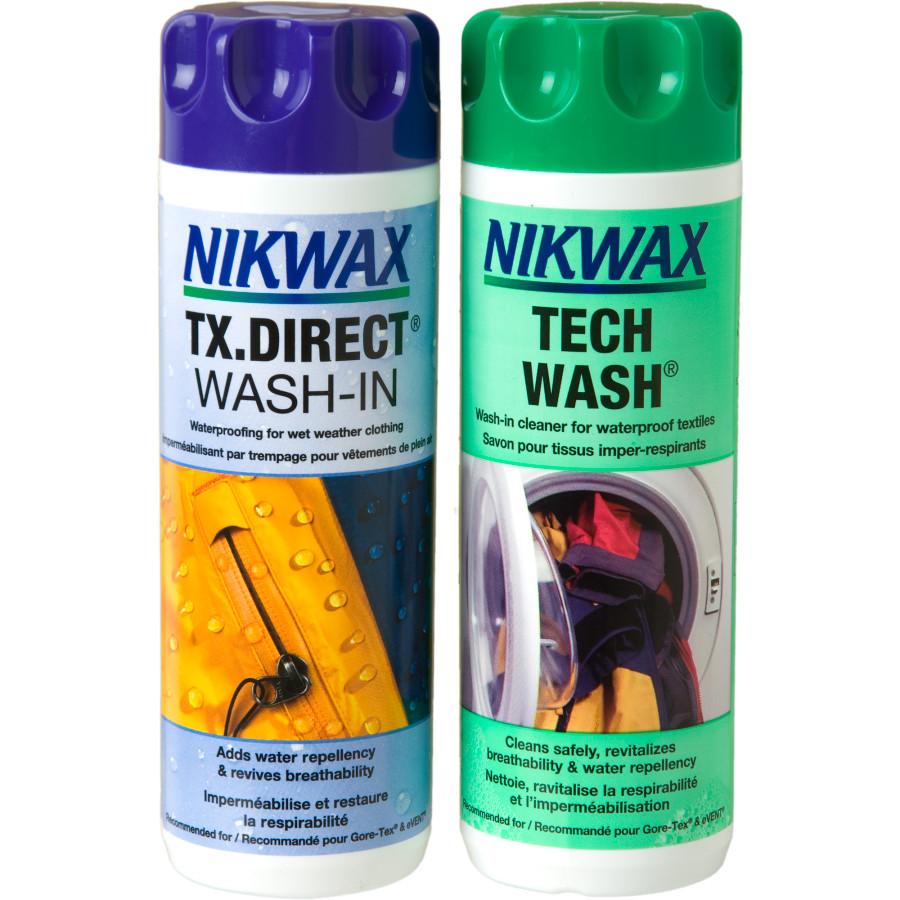
My Streetgaurd 3 jacket is entering it’s 3rd season, just got a new fat YKK Aquaguard main zipper and needed a good clean and rejuvination of it’s water-repelling capabilities.
(more…)
Having been through 4 chains in 120,000km before switching to the 520 chain on the FZ1, I’d endured some trials and tribulations of chain maintenance and in the process gained some understanding of what was and wasn’t working. Mostly, it wasn’t working.
(more…)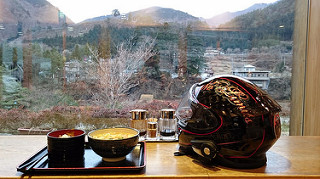
Got out for a ride today. First one in too long! Started out cloudy then fined up a little once in the mountains but soon the cloud cover rolled back in. Finally hit rain in Atsugi on the run back. Surprisingly warm day for early March though, nice.
(more…)