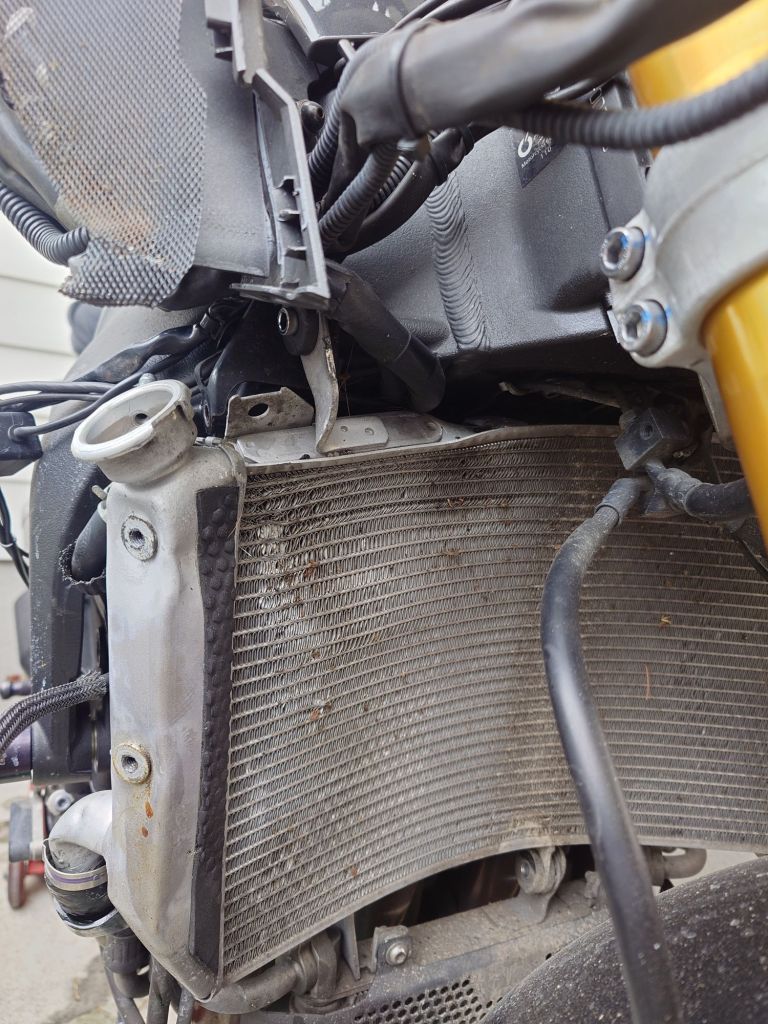
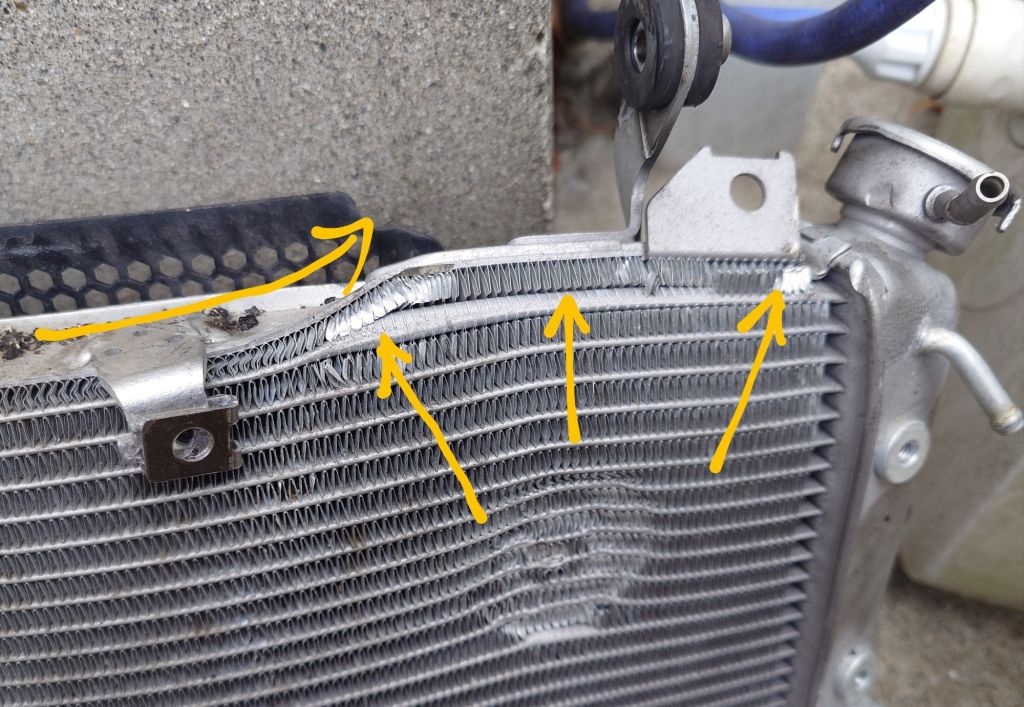
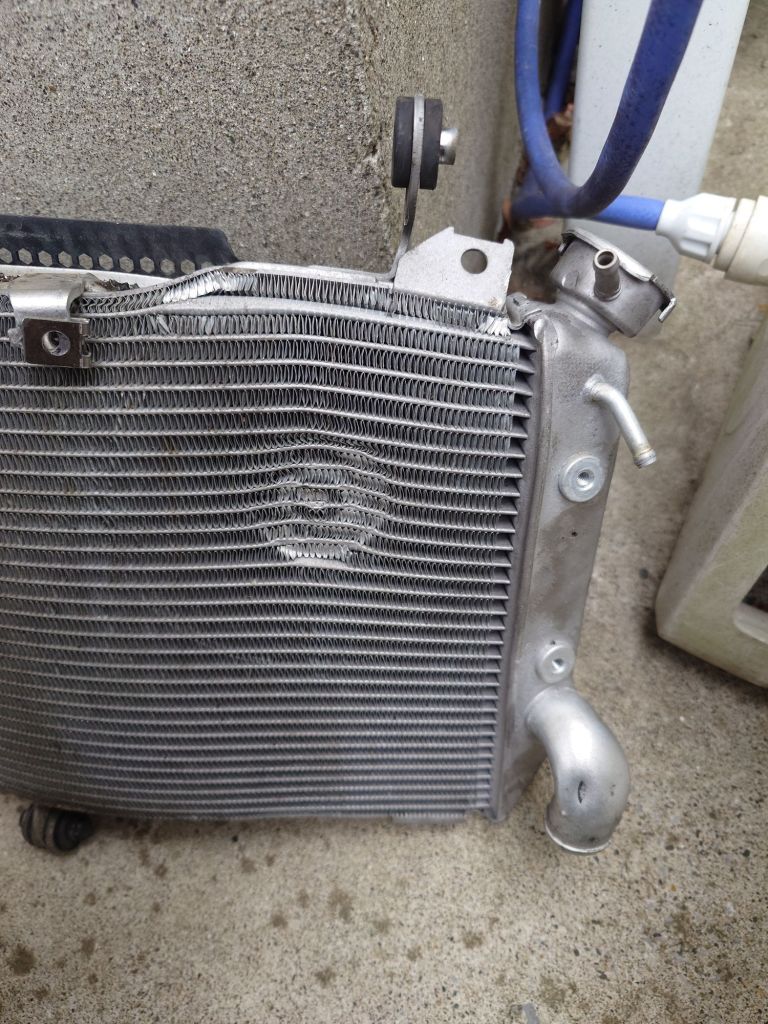
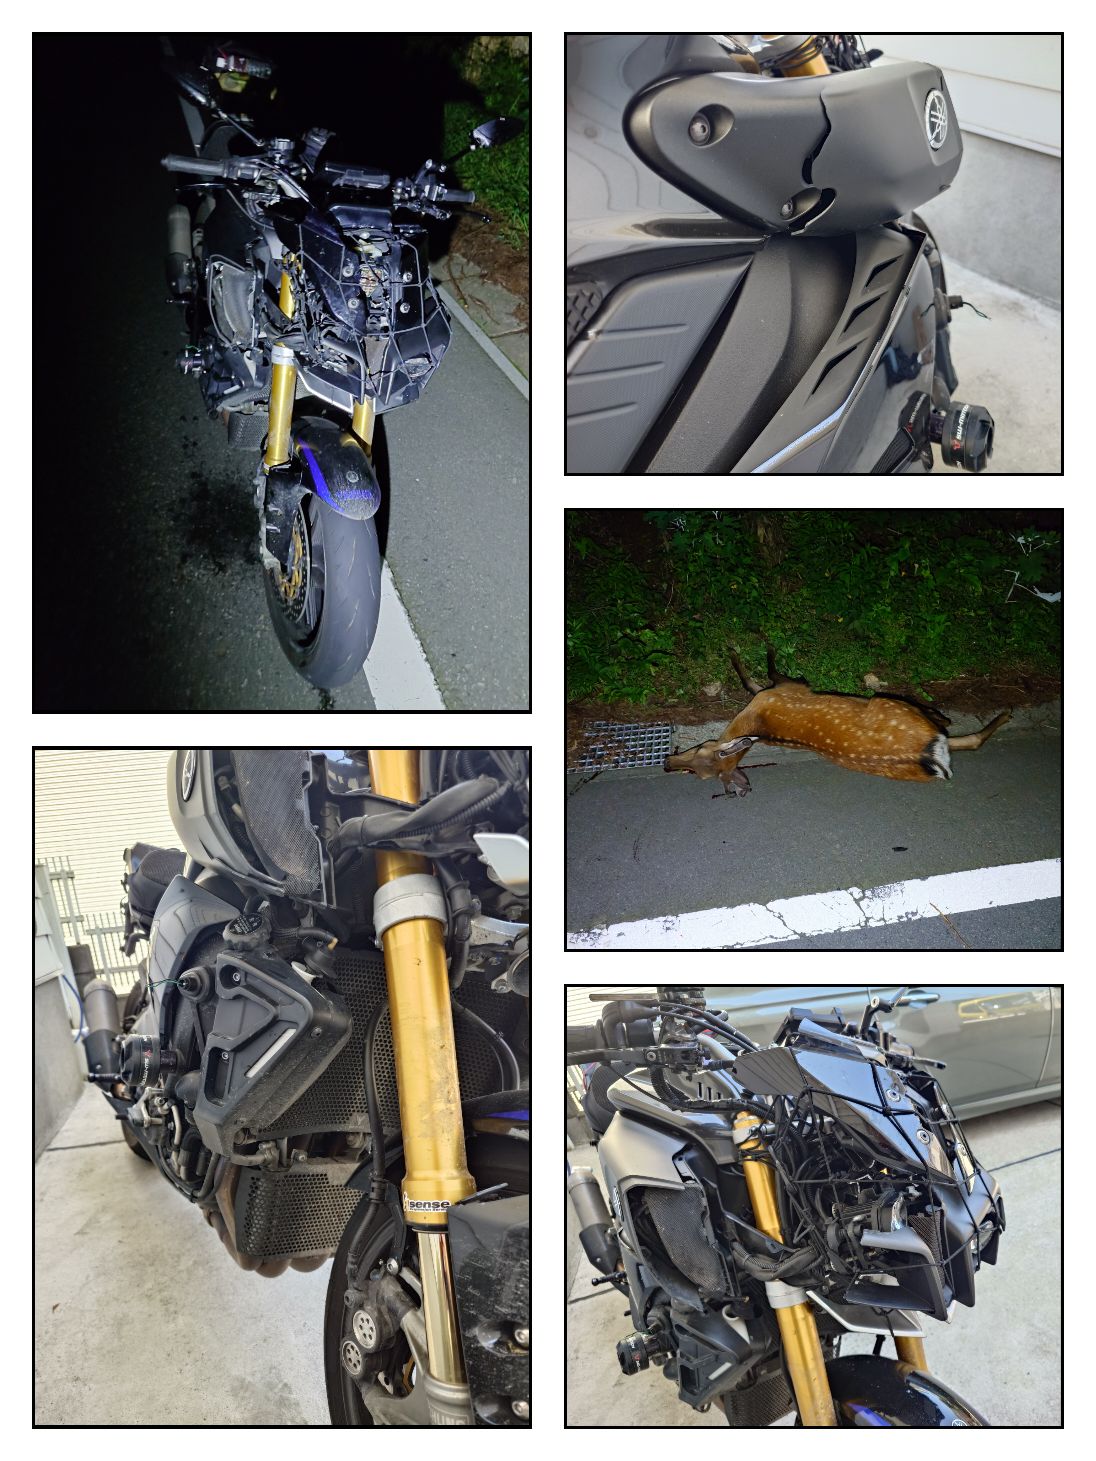
Well, got the radiator and everything forward of the seat done and left the rear end till last.

First up was swapping the dented muffler for an R1 muffler that’s almost the same…it fits.

Might swap it back though as it’s not cosmetically the same. Sounds the same though…

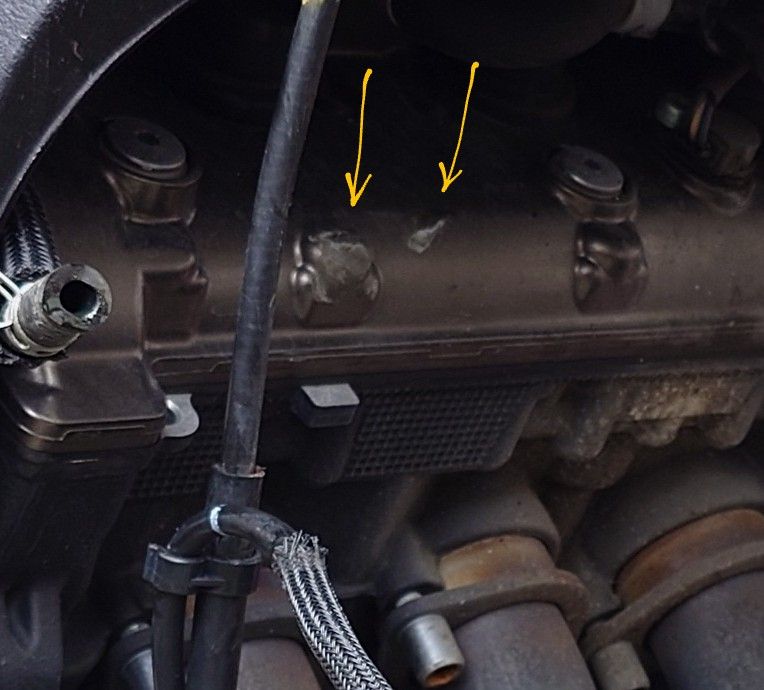
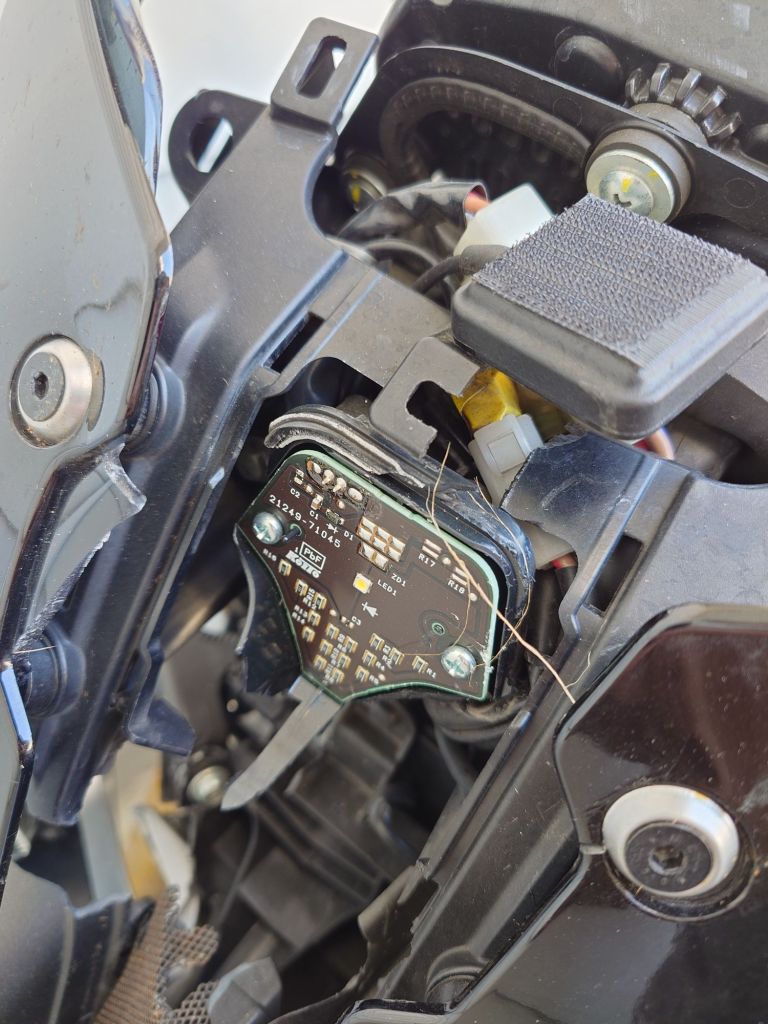
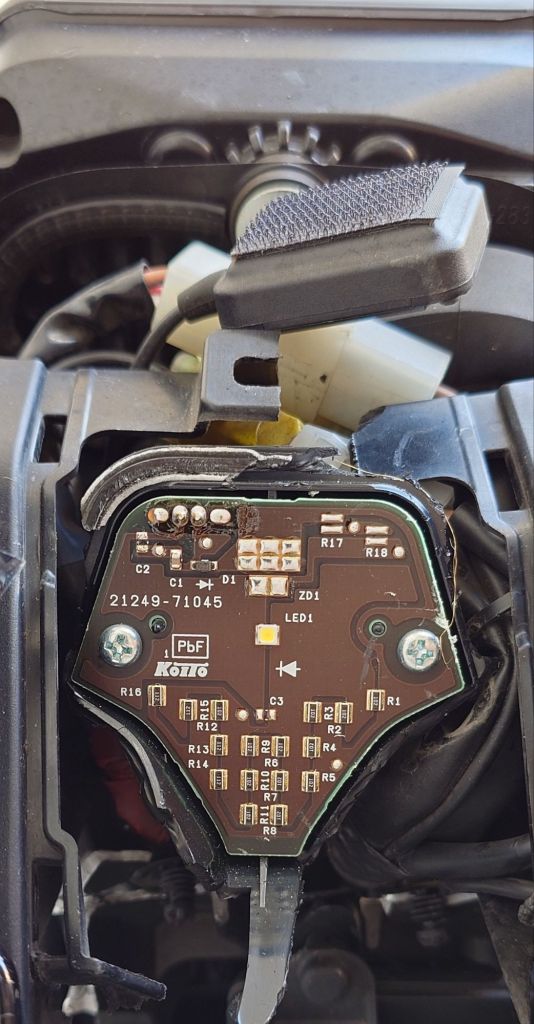
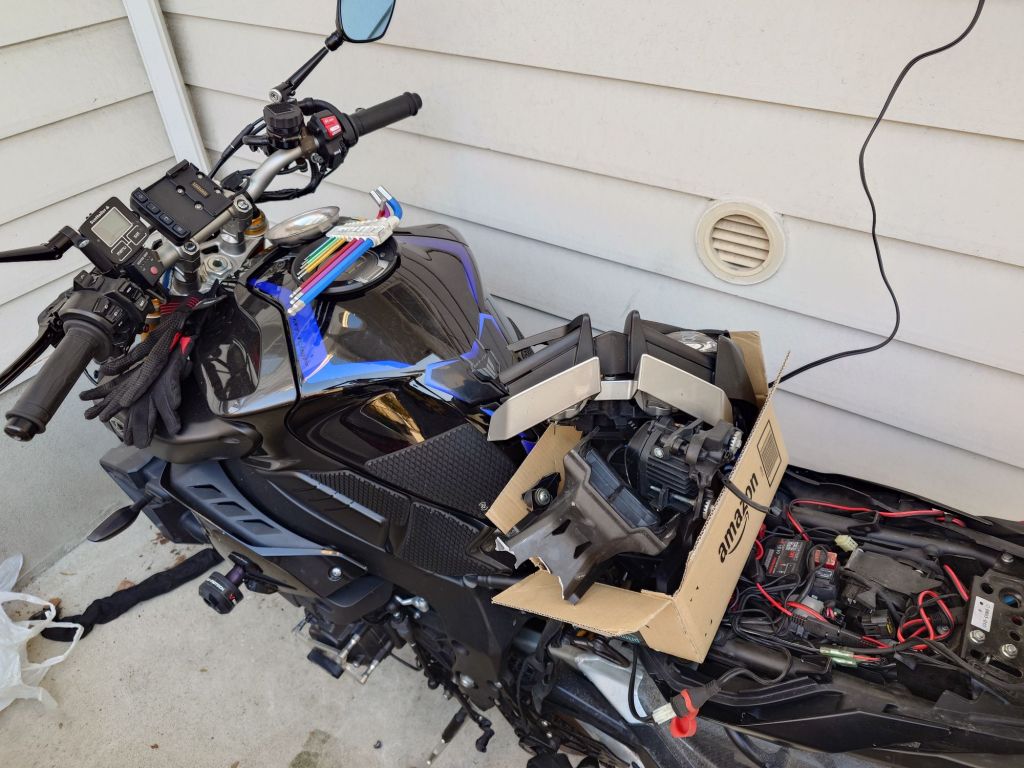
Getting to the indicator wiring is usually simple enough…
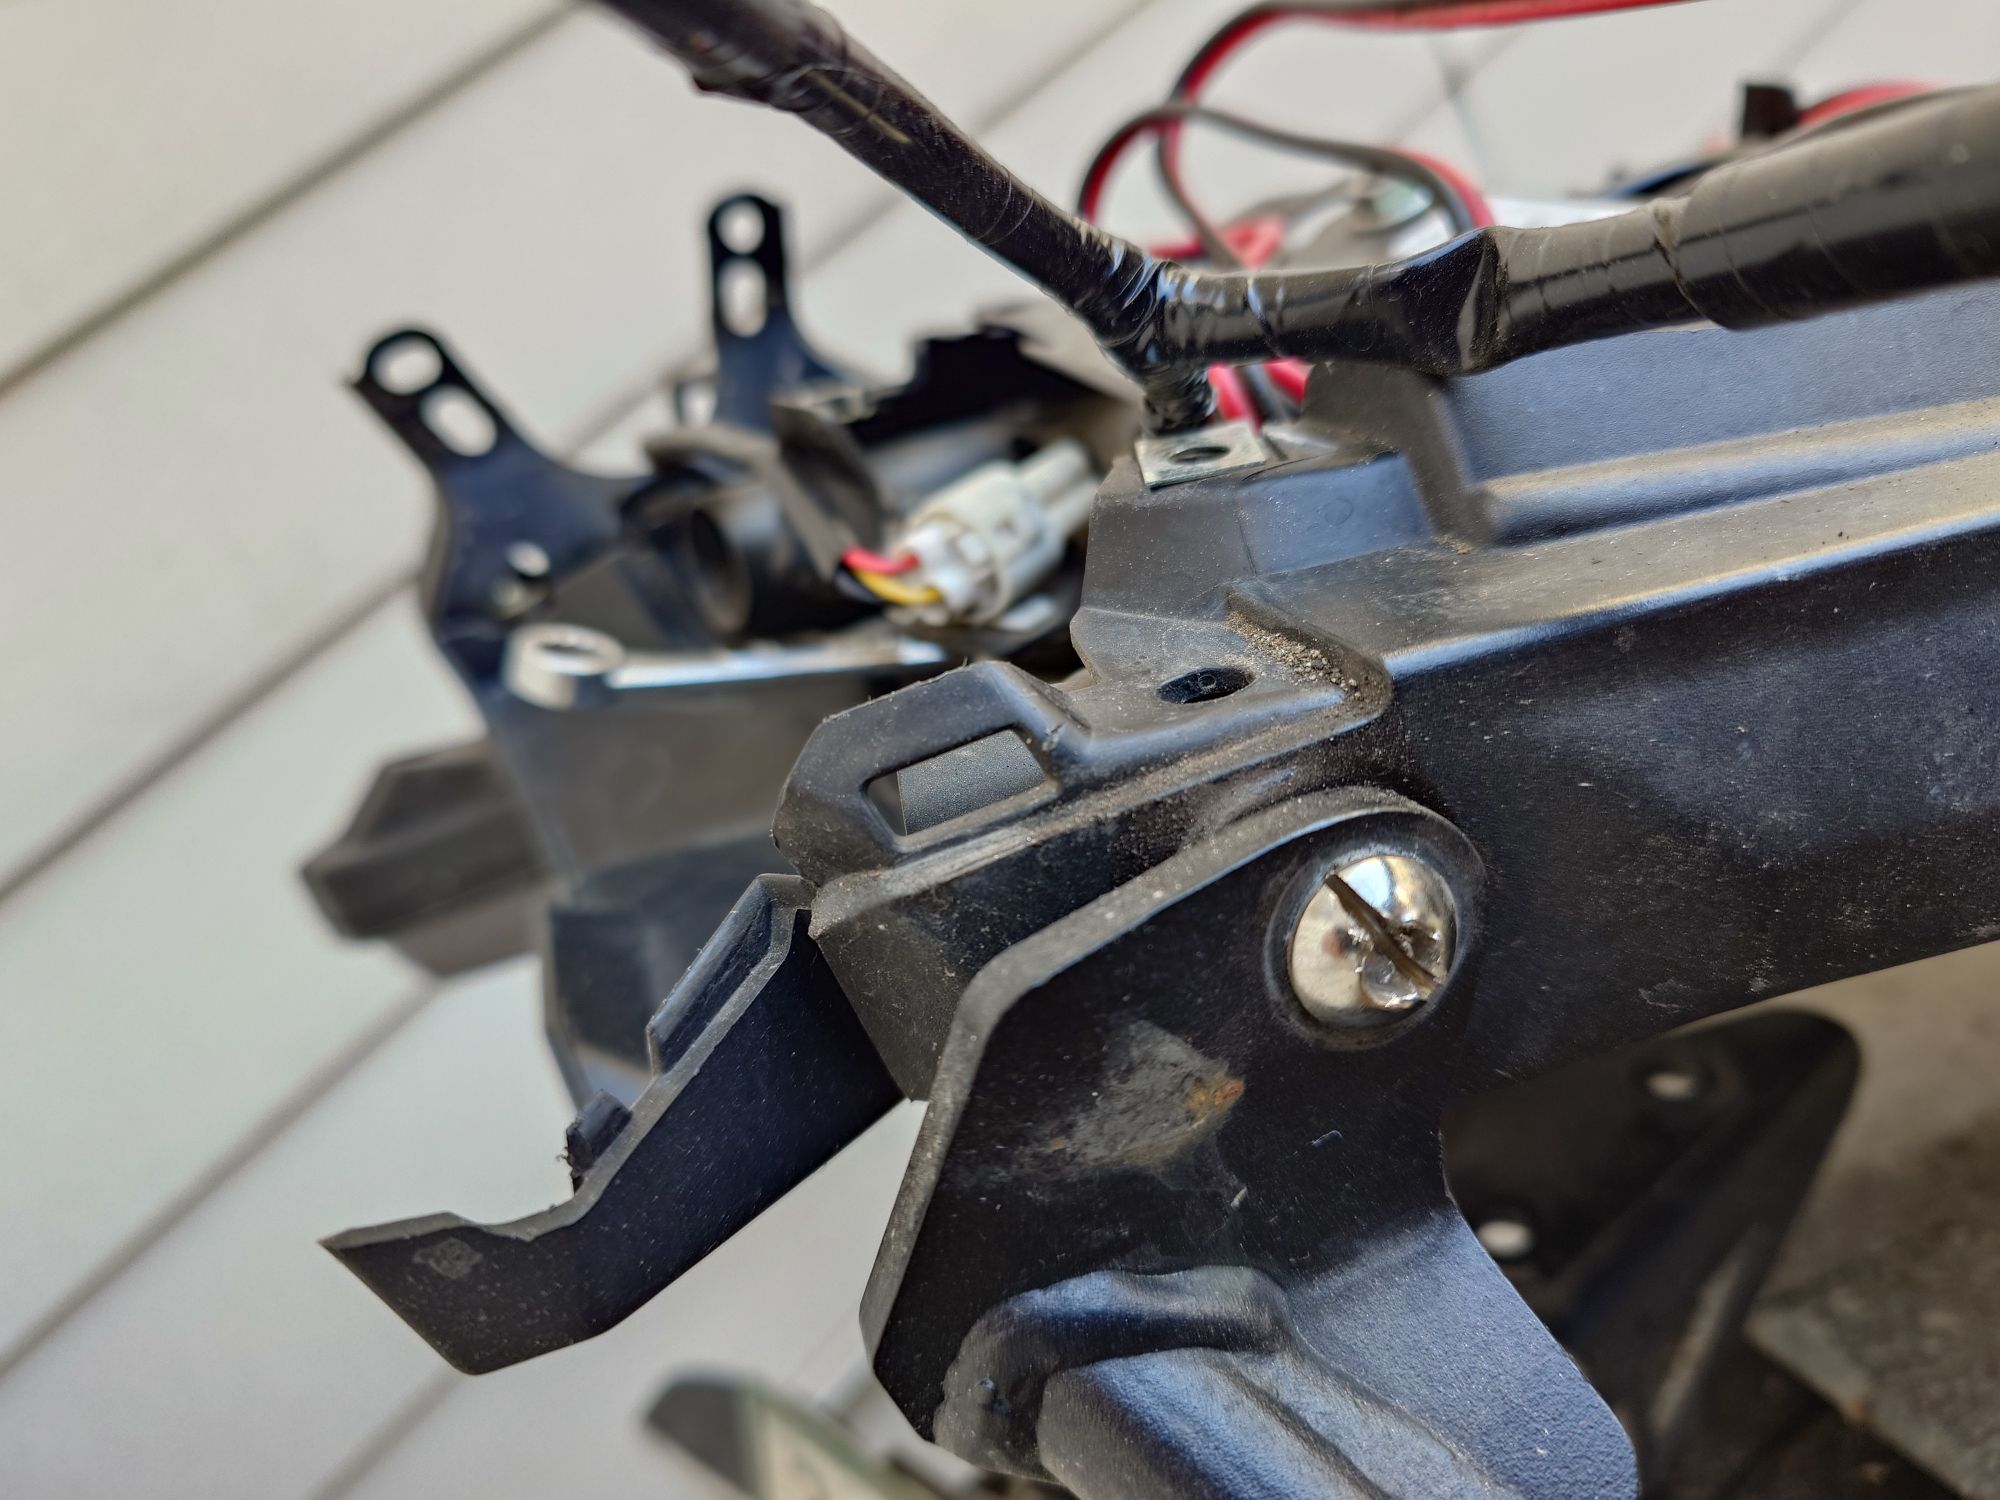
Except…

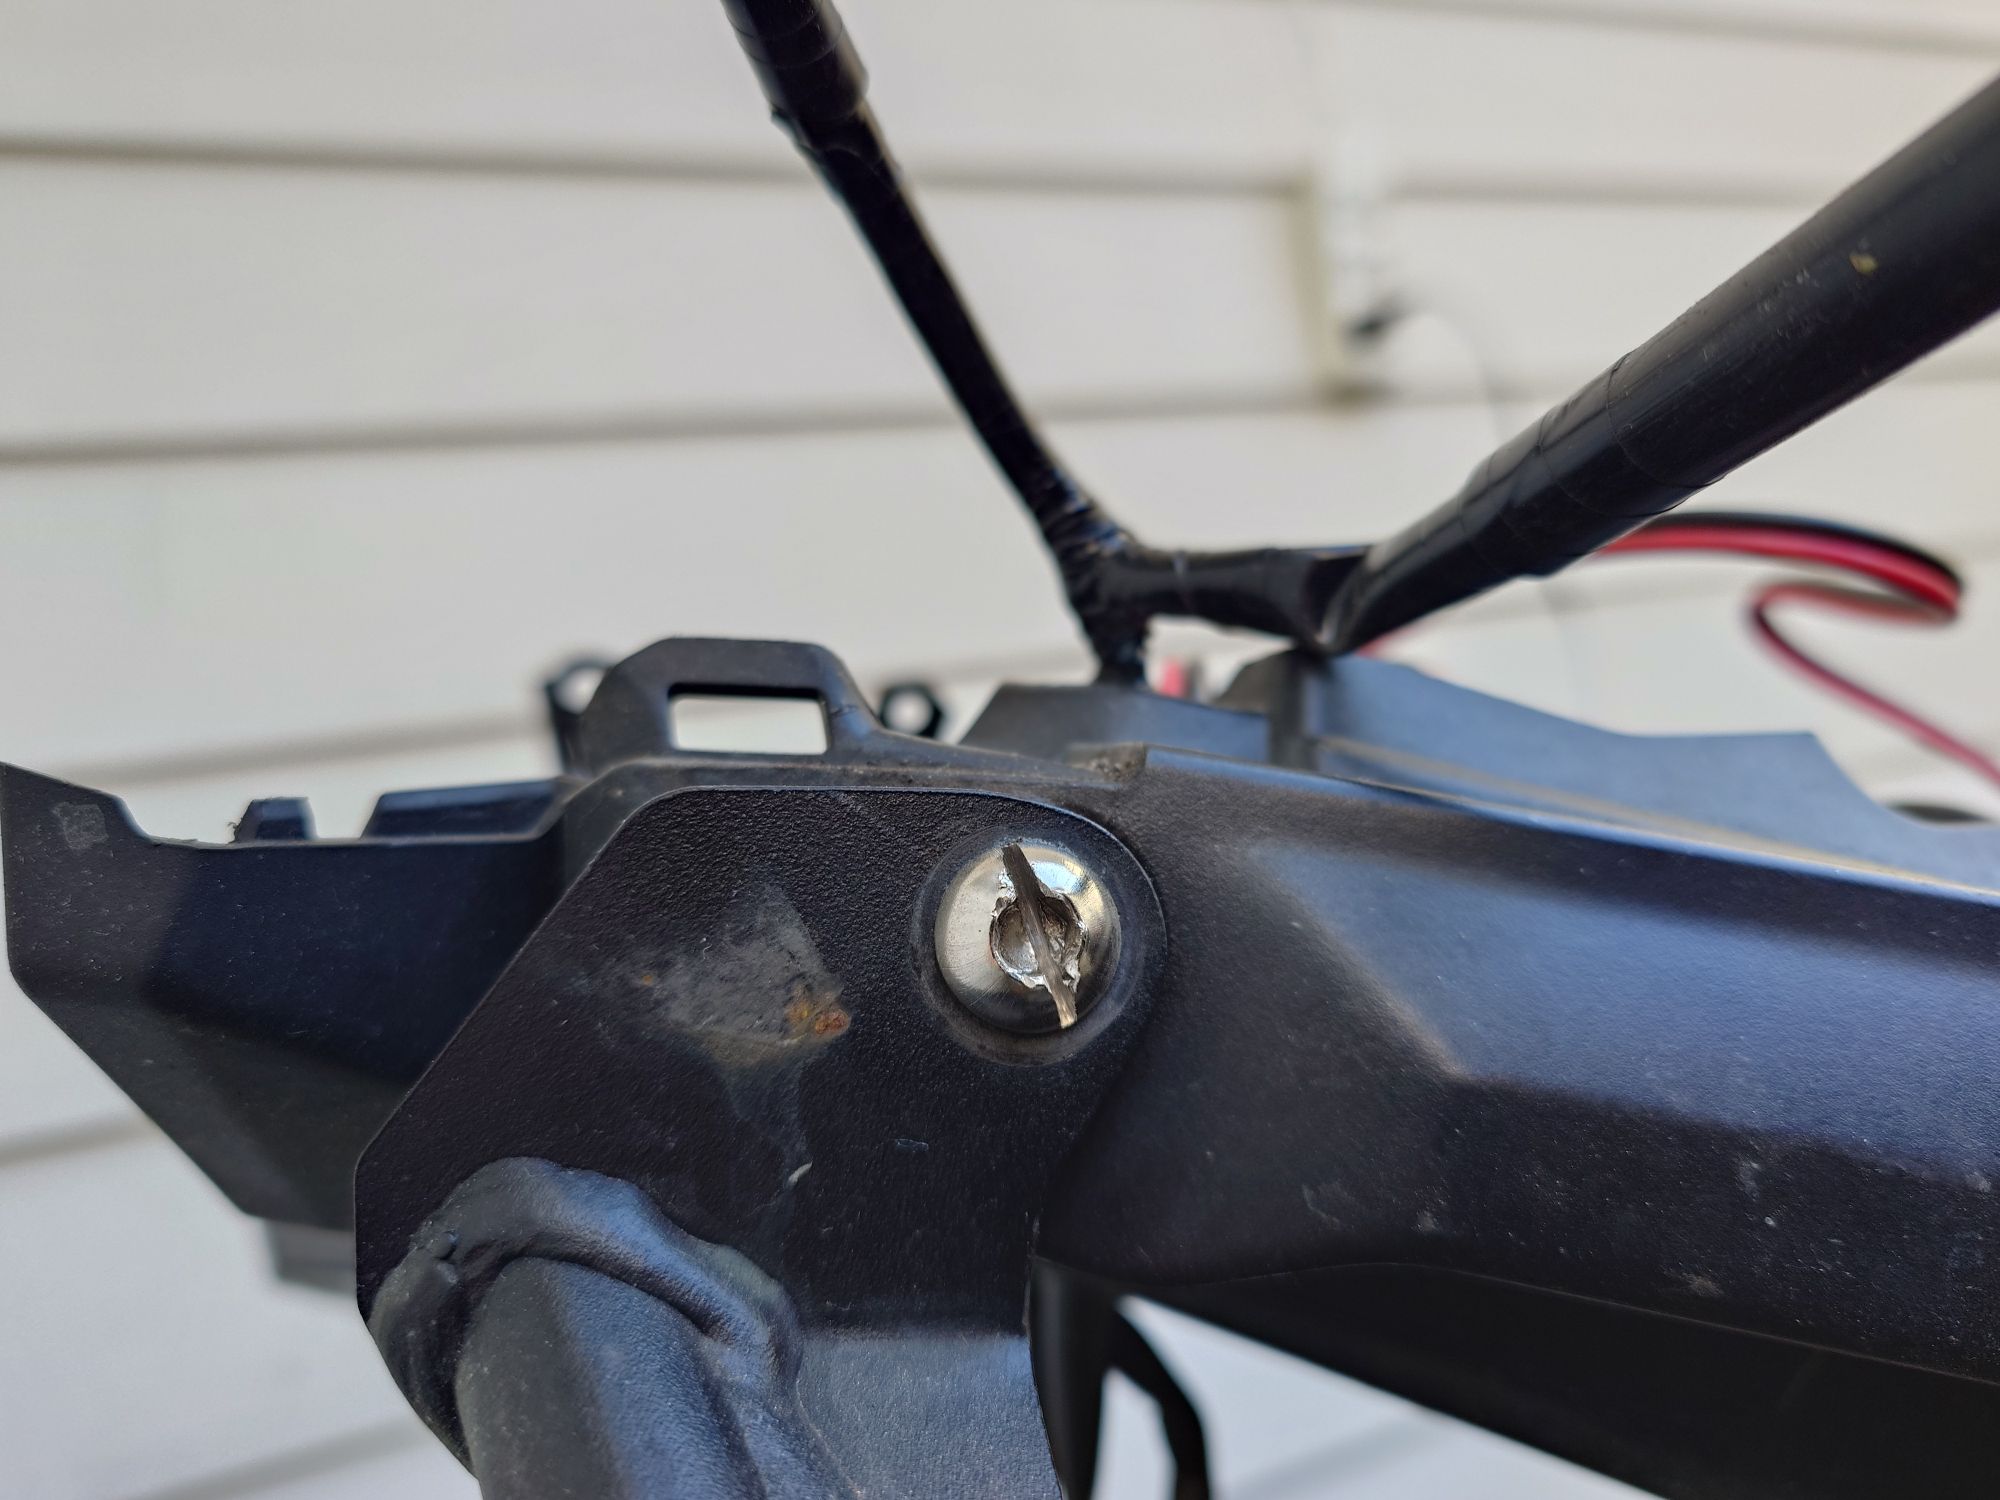
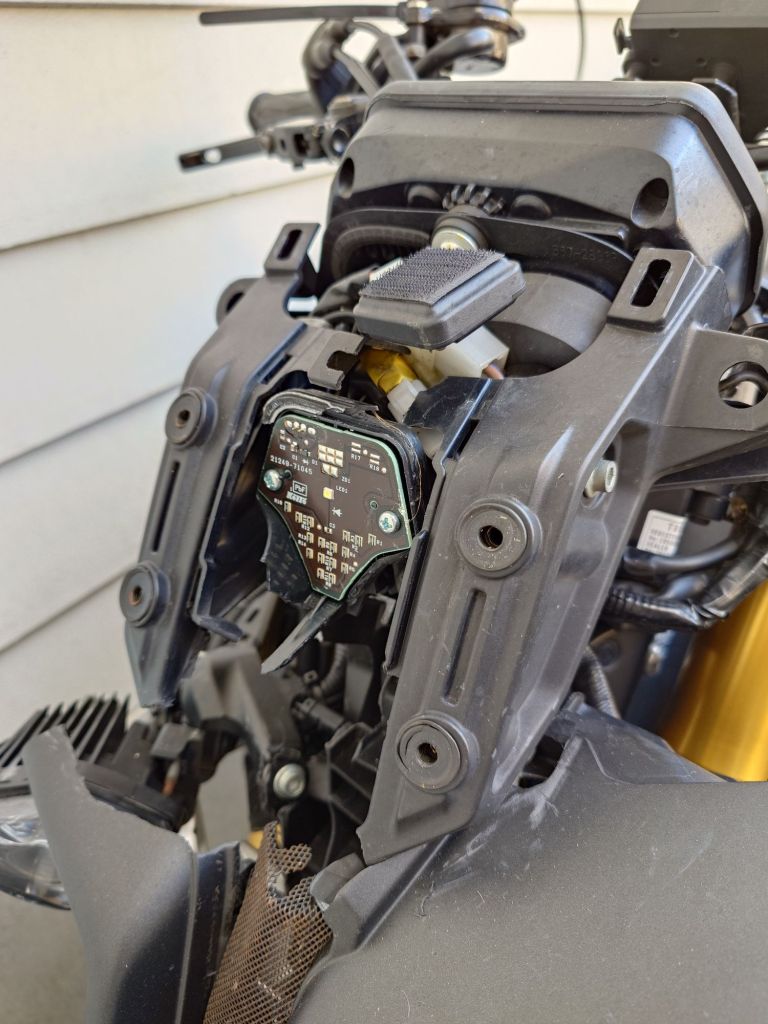
This replacement bolt I put in with the panniers rack a couple of years ago was forged from cheese. 👎

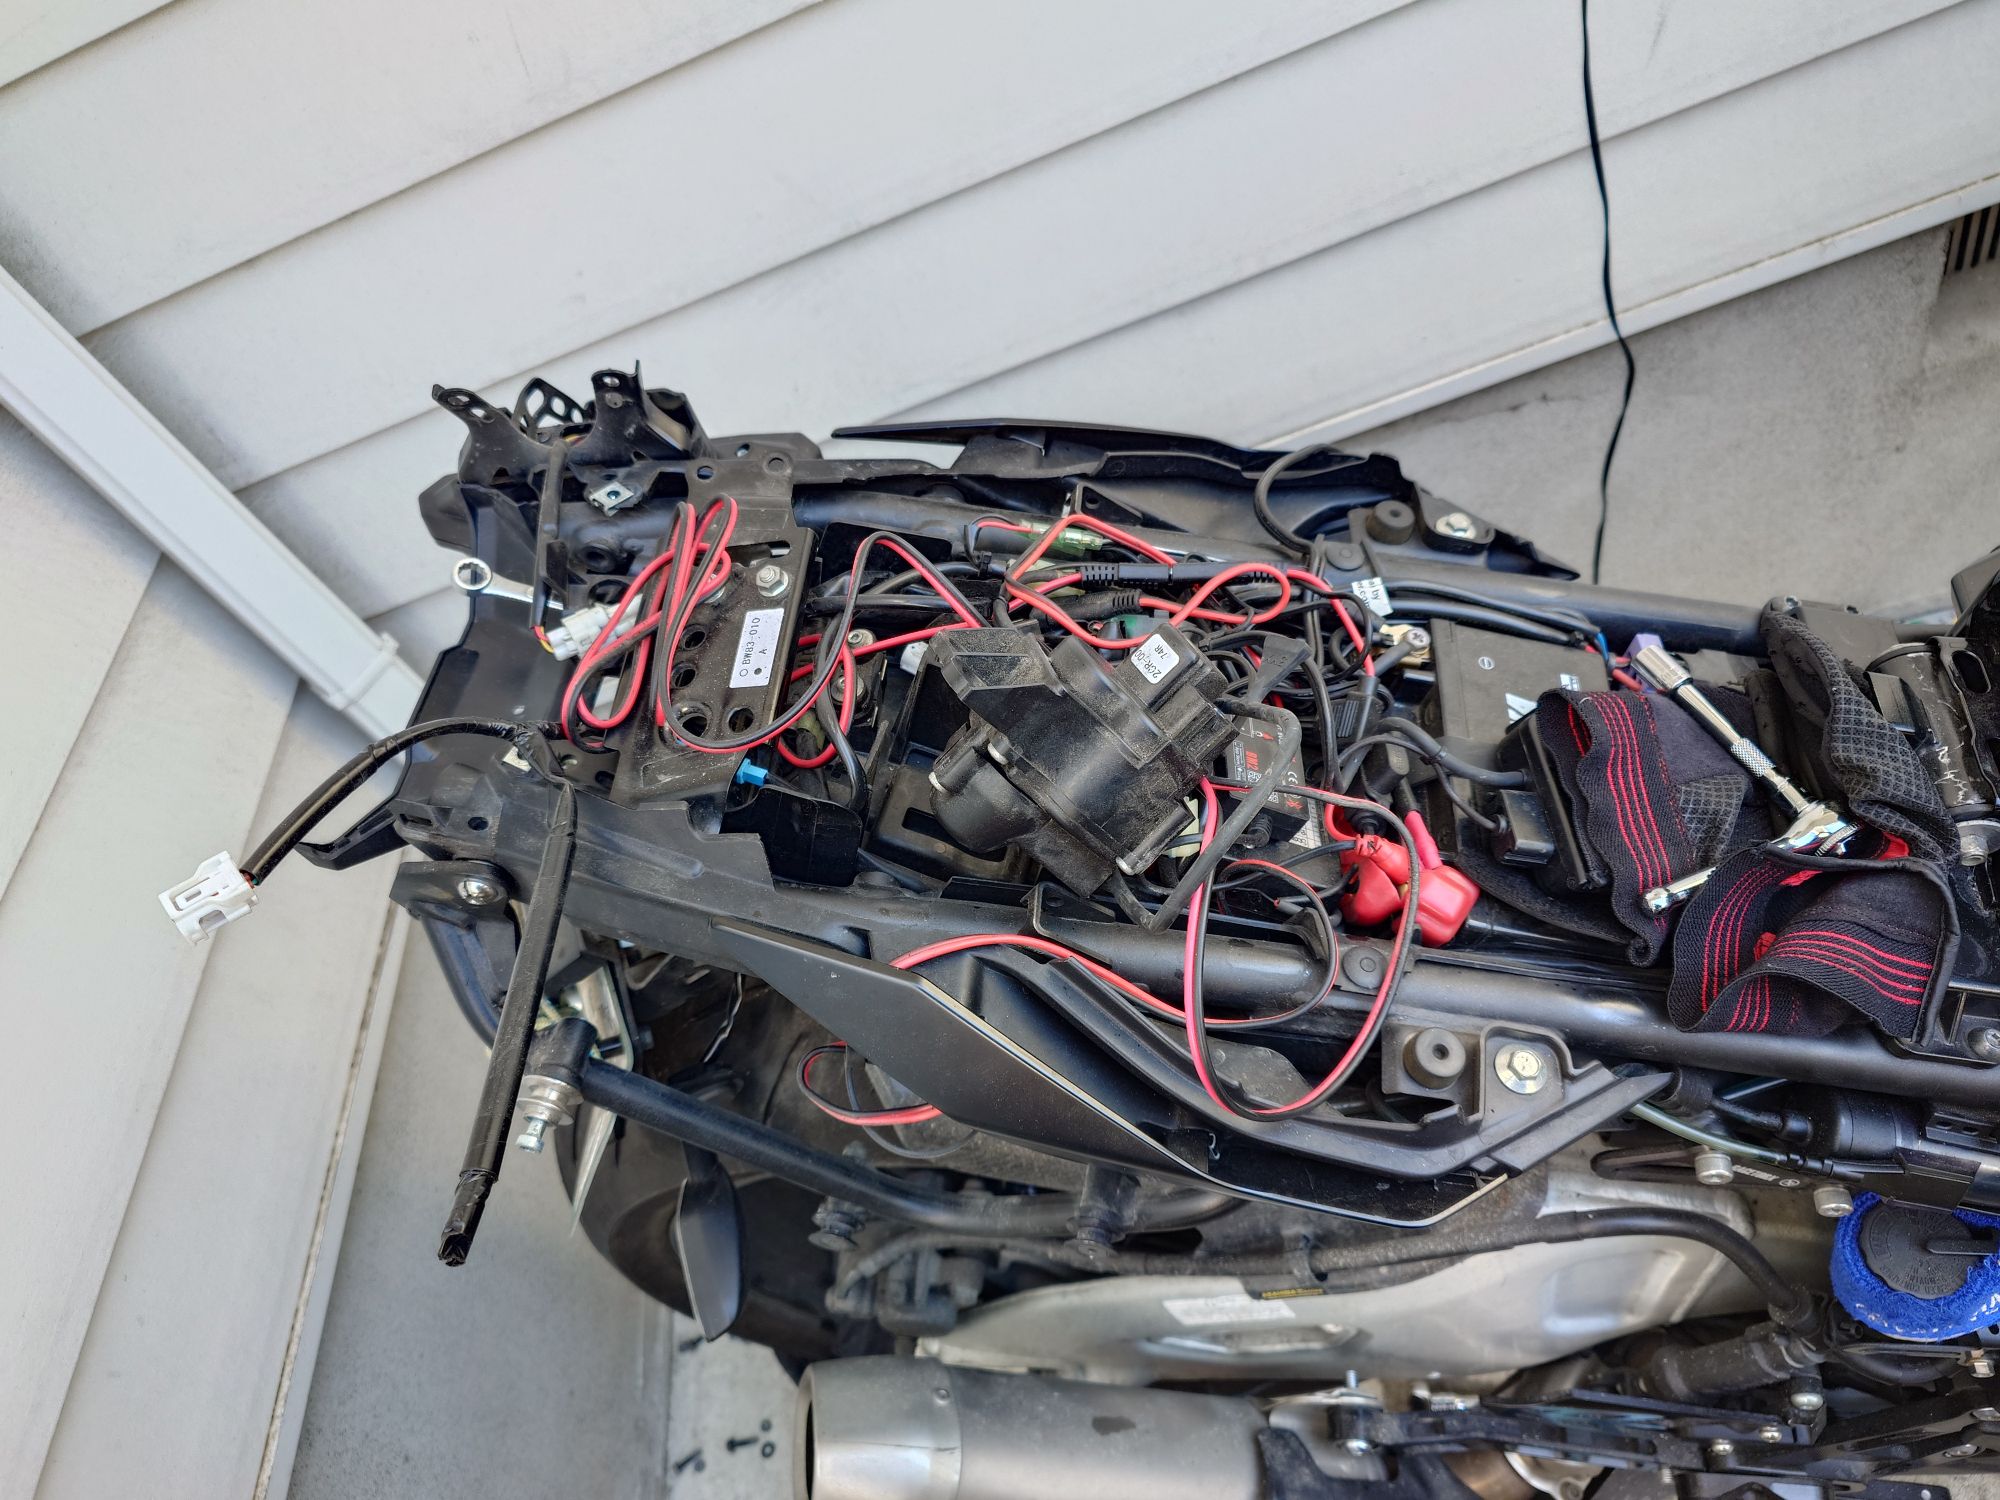
With a little gumption and ingenuity, got it sorted and everything back into the spaghetti pile. The screw that tried to screw me stayed where it was. I’ll have my revenge later!
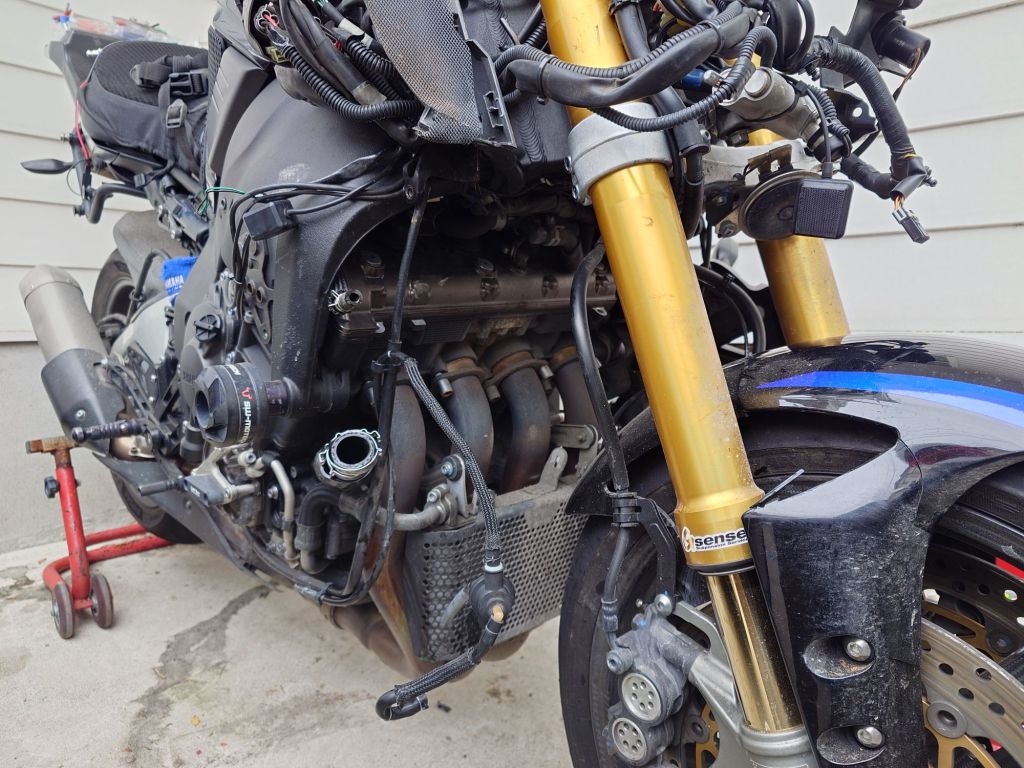
The home stretch…

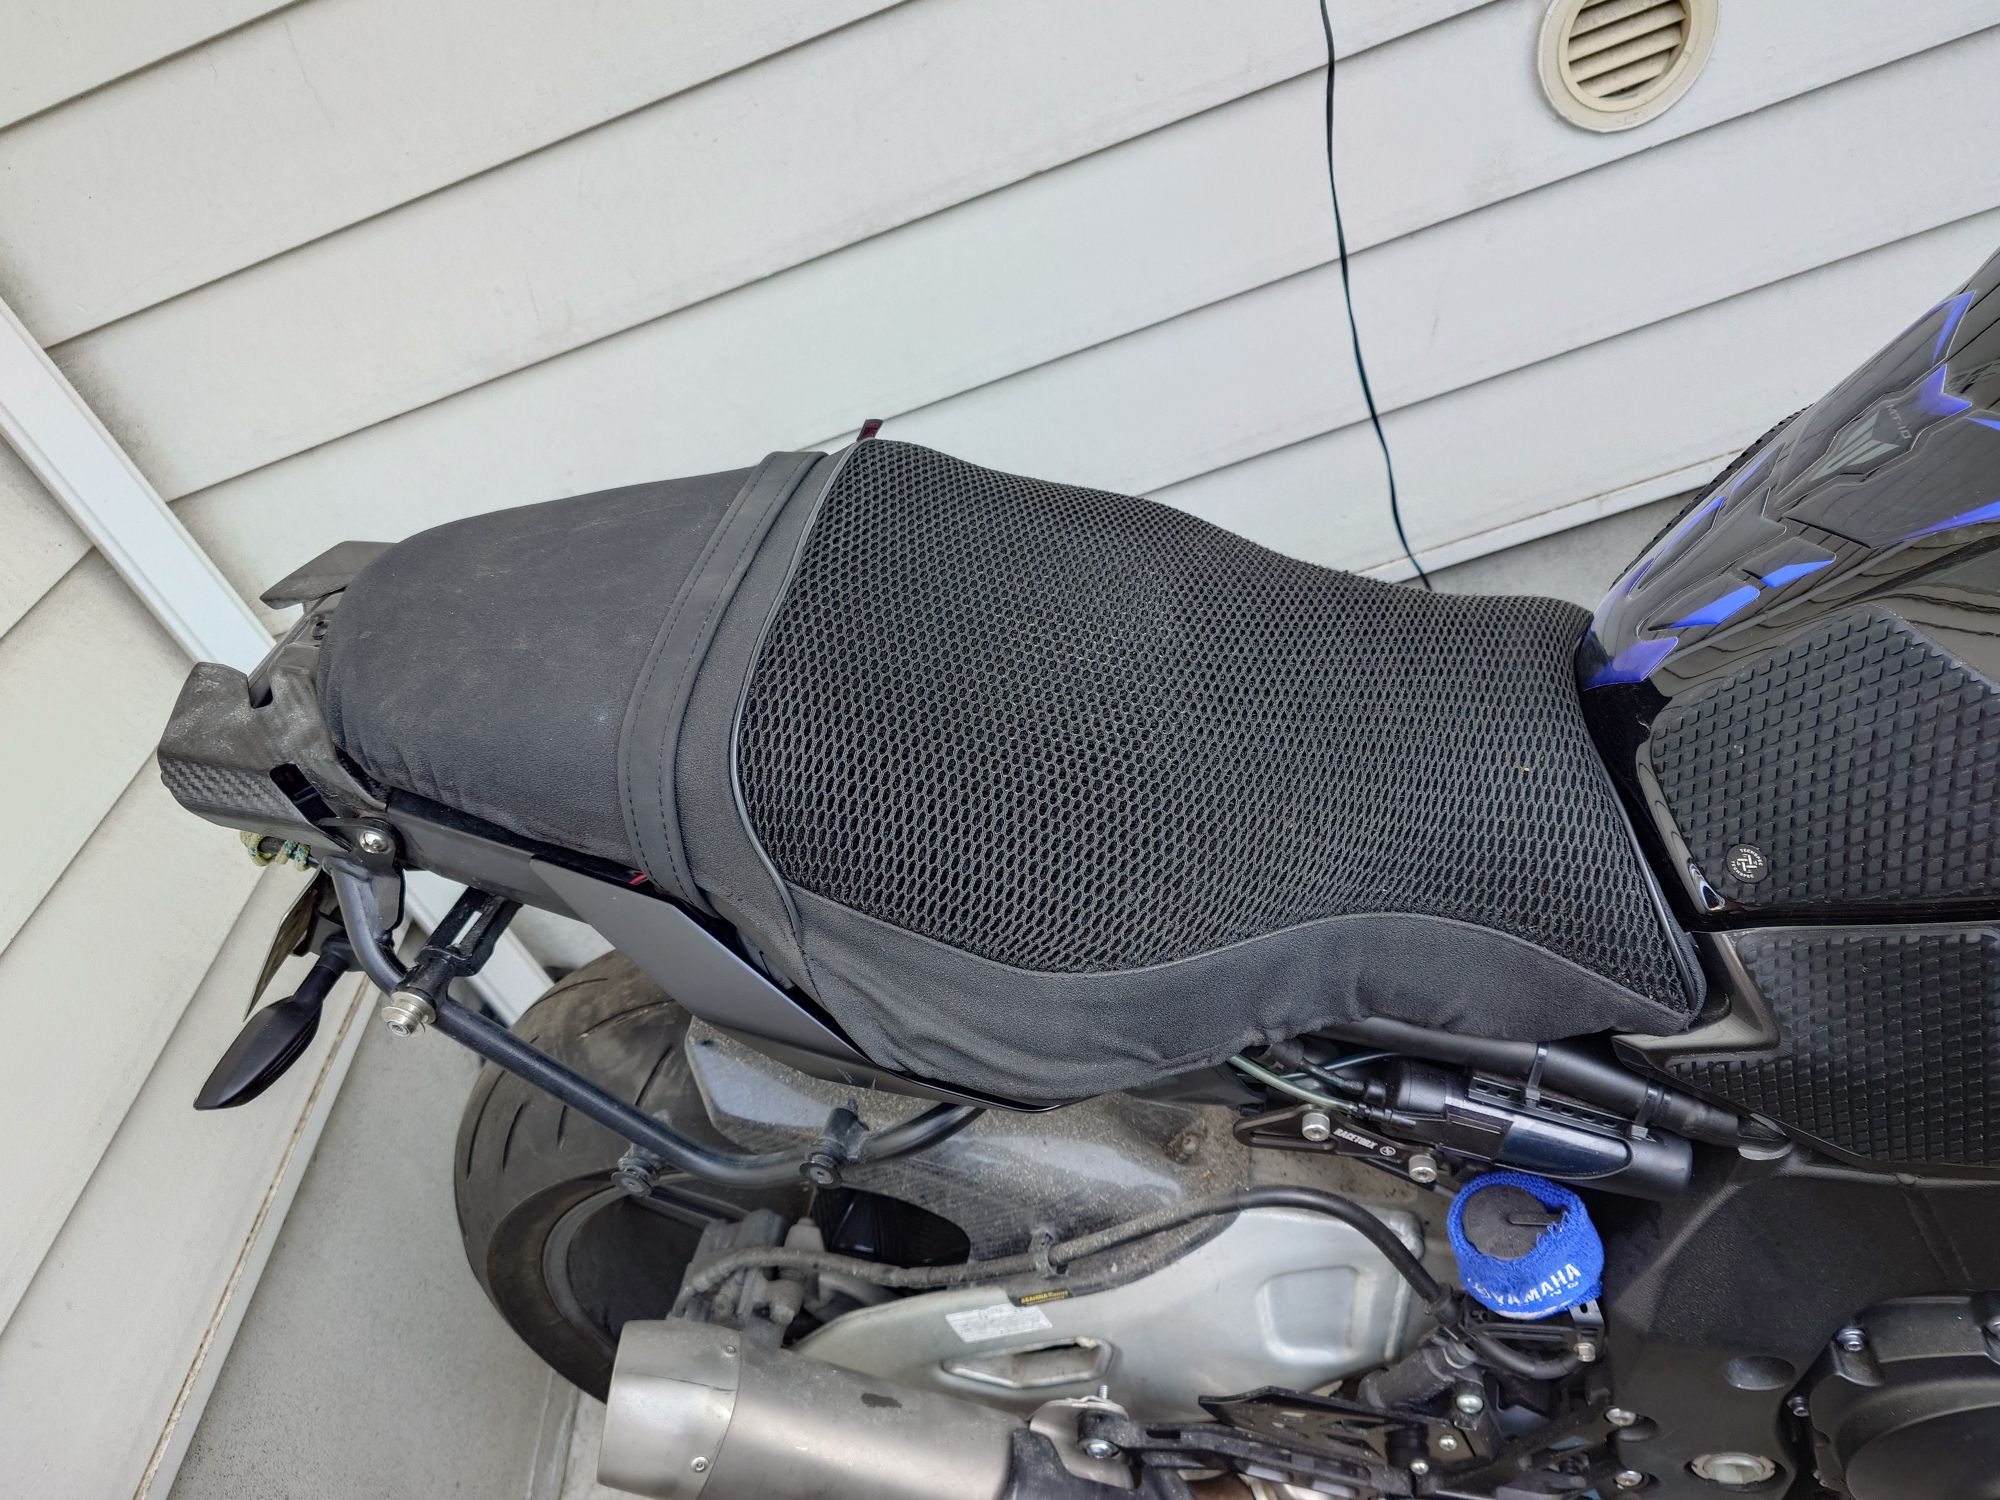
With the seat on, you’d never know the cursing the wiring caused.

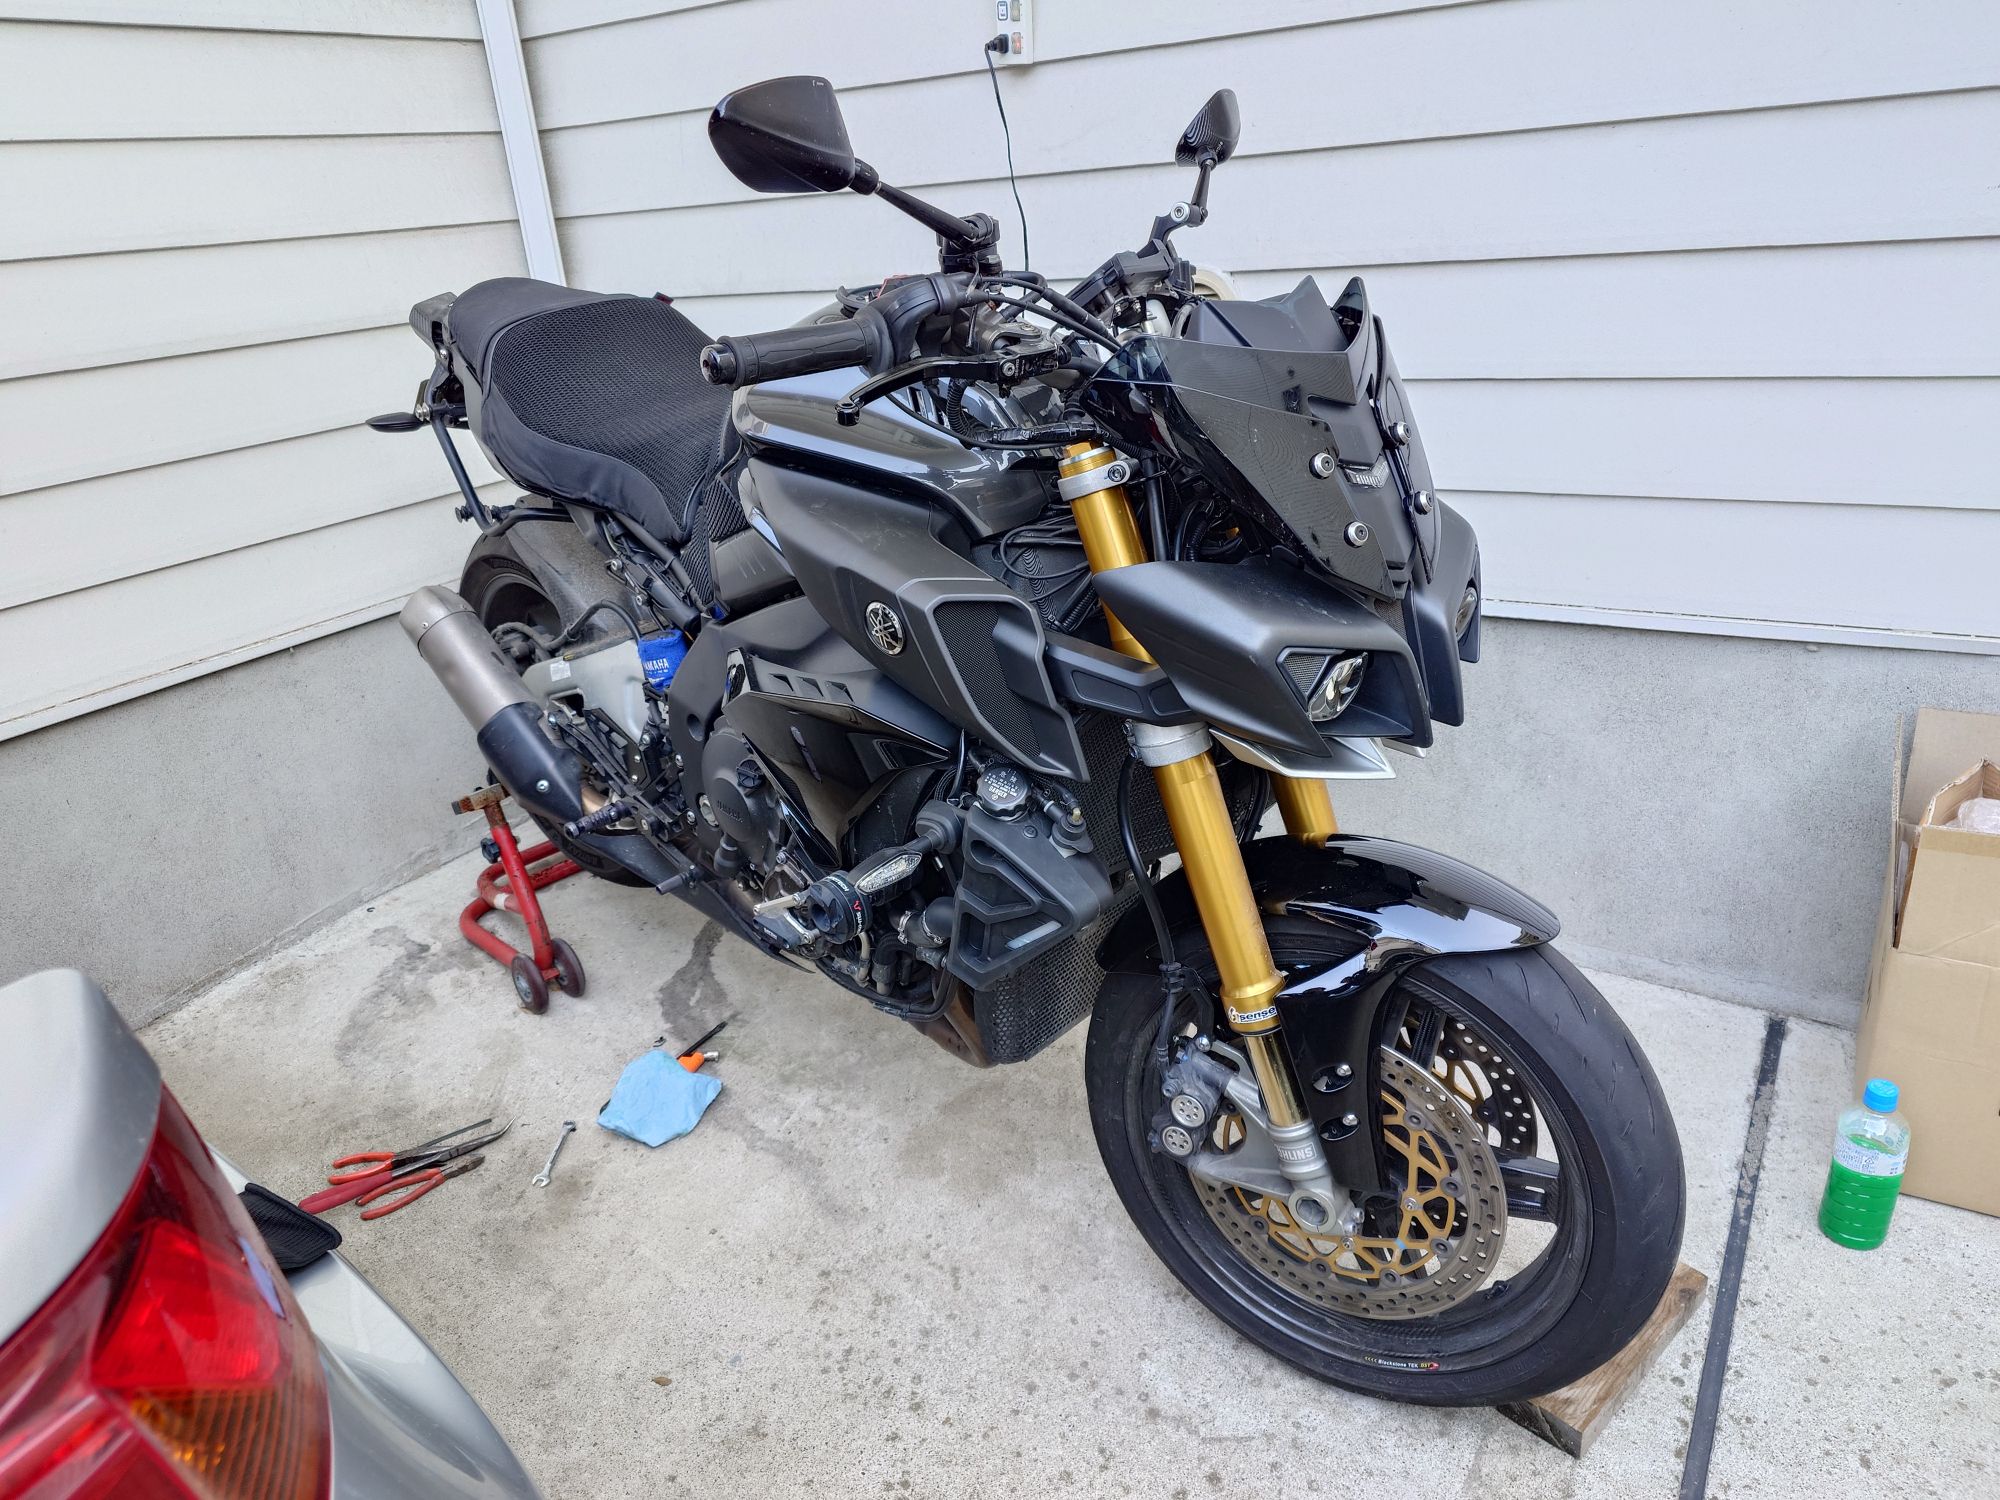
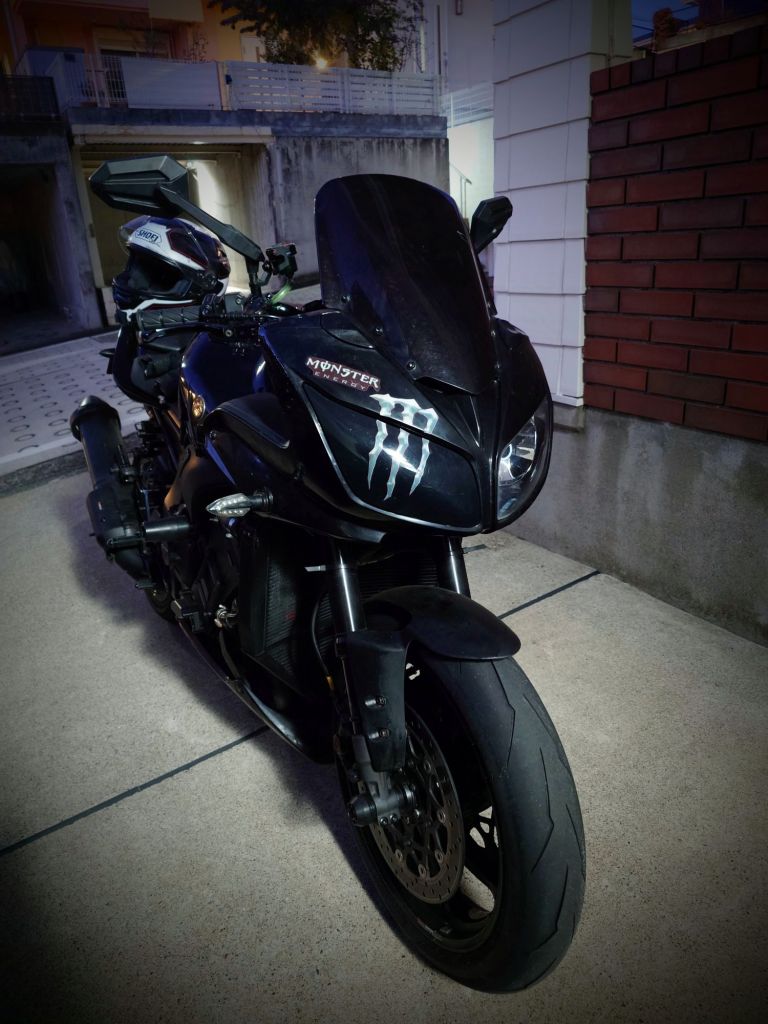
Ta-da! Like new…almost.

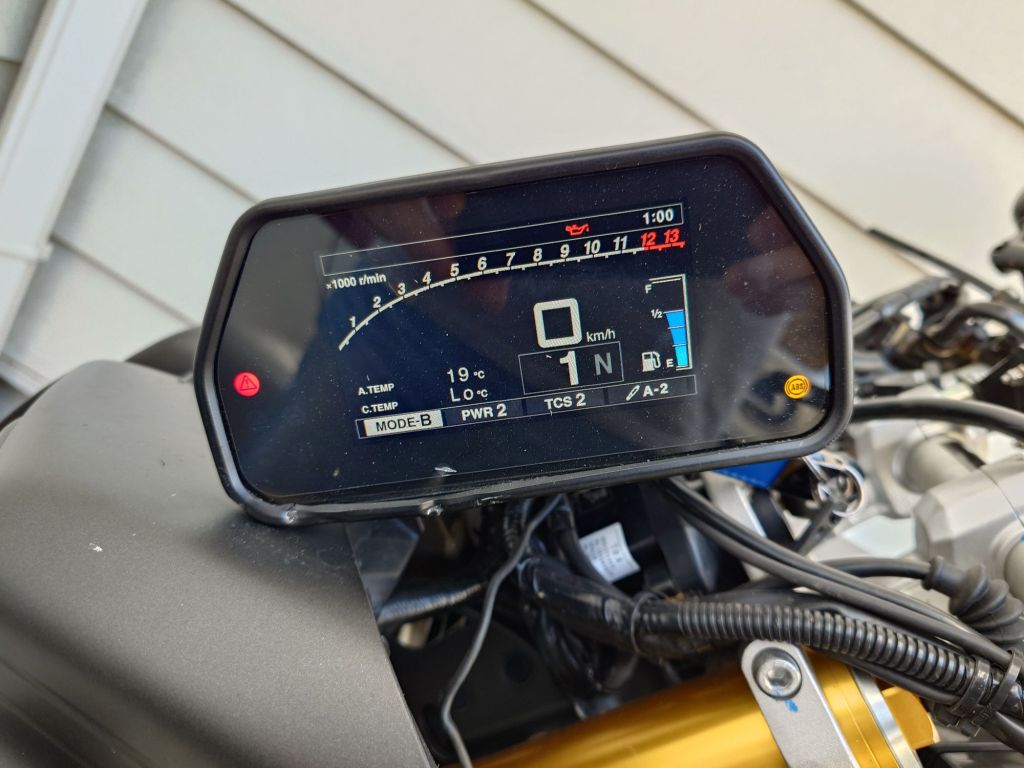
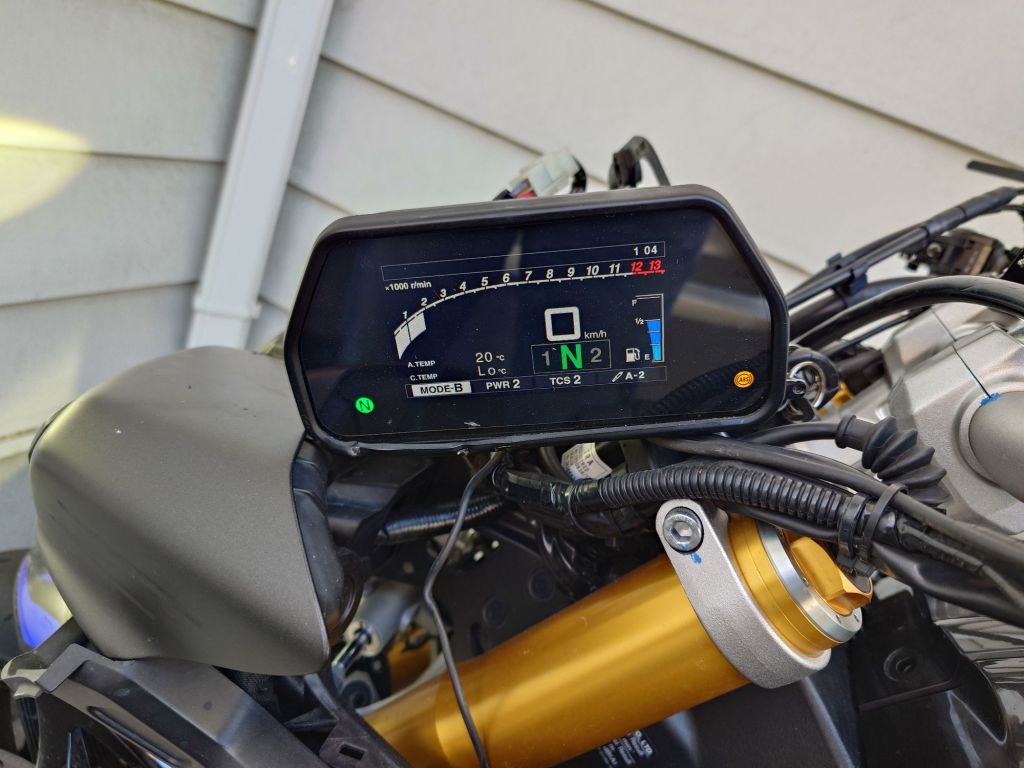
First ride was around the block and local park. A few streets in and discovered the Quickshifter wasn’t working. Somehow it had turned itself off in the crash. Pulled over, got into the menus and it was as simple as turning it back on.

Then headed home for dinner to let the radiator cool down before topping it up.

After dinner, topped off the coolant overflow tank and radiator then set off for the first real clean in months. Came up great!

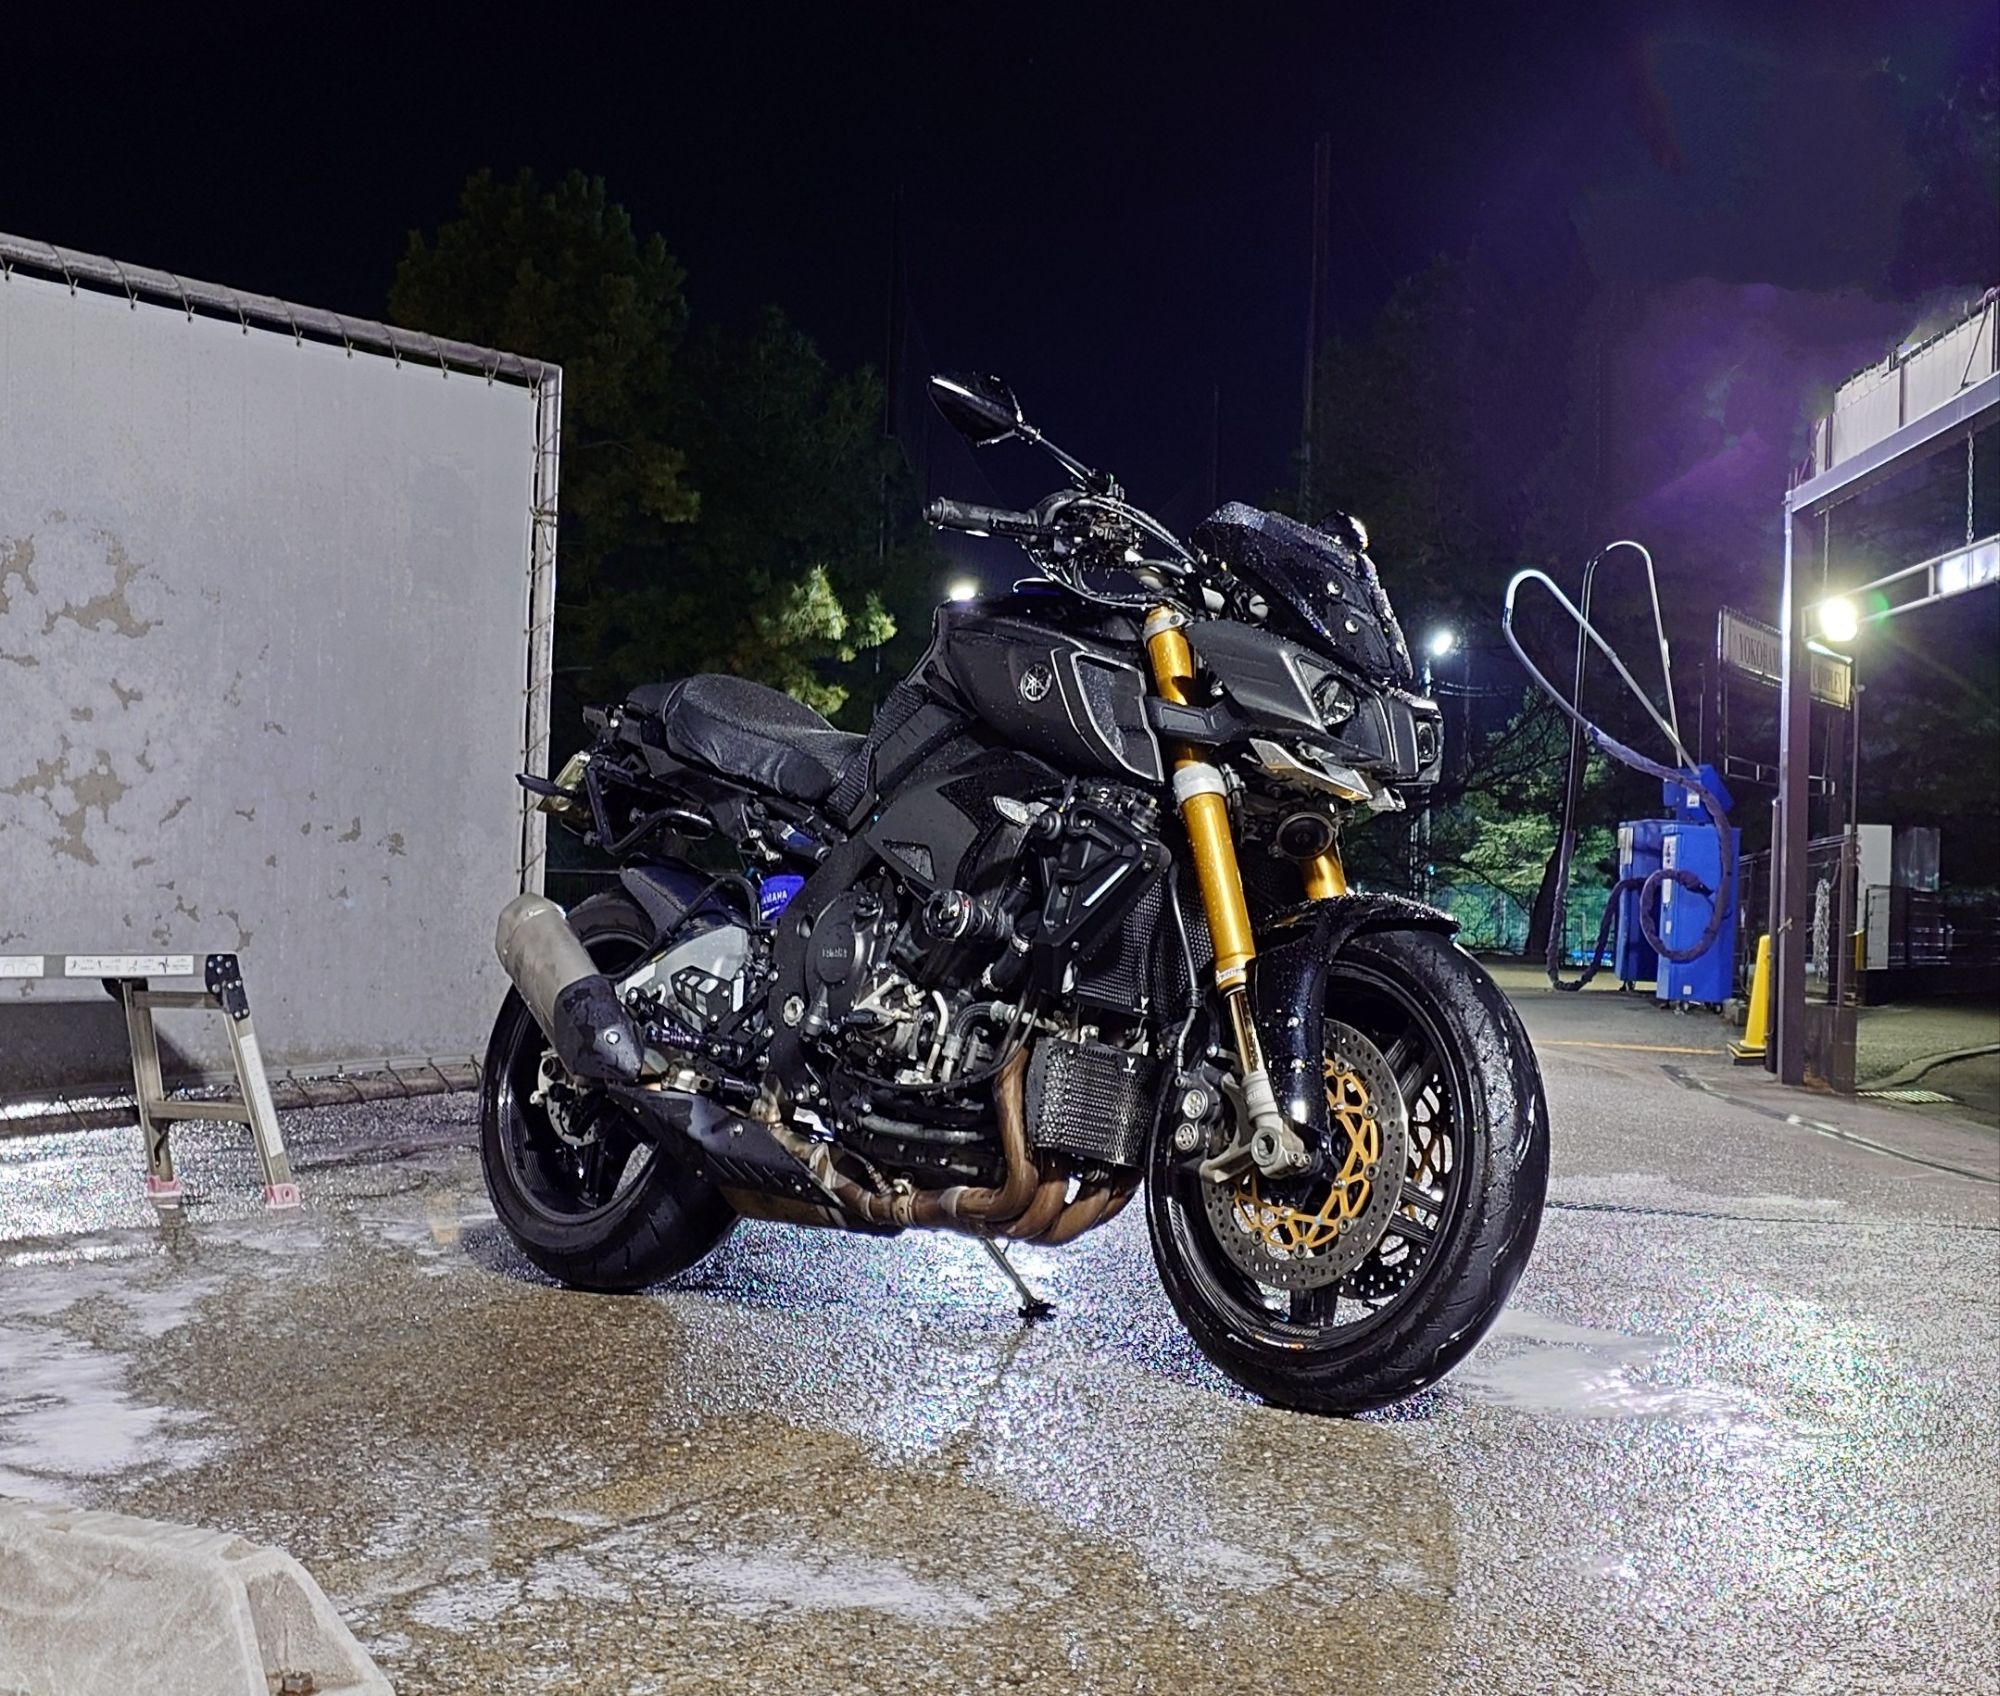
I swear it was smiling, even though it was less than 5°c.

With that clean followed by a 50km shakedown ride, the carnage and destruction was washed away and old MighTy is back in the game!
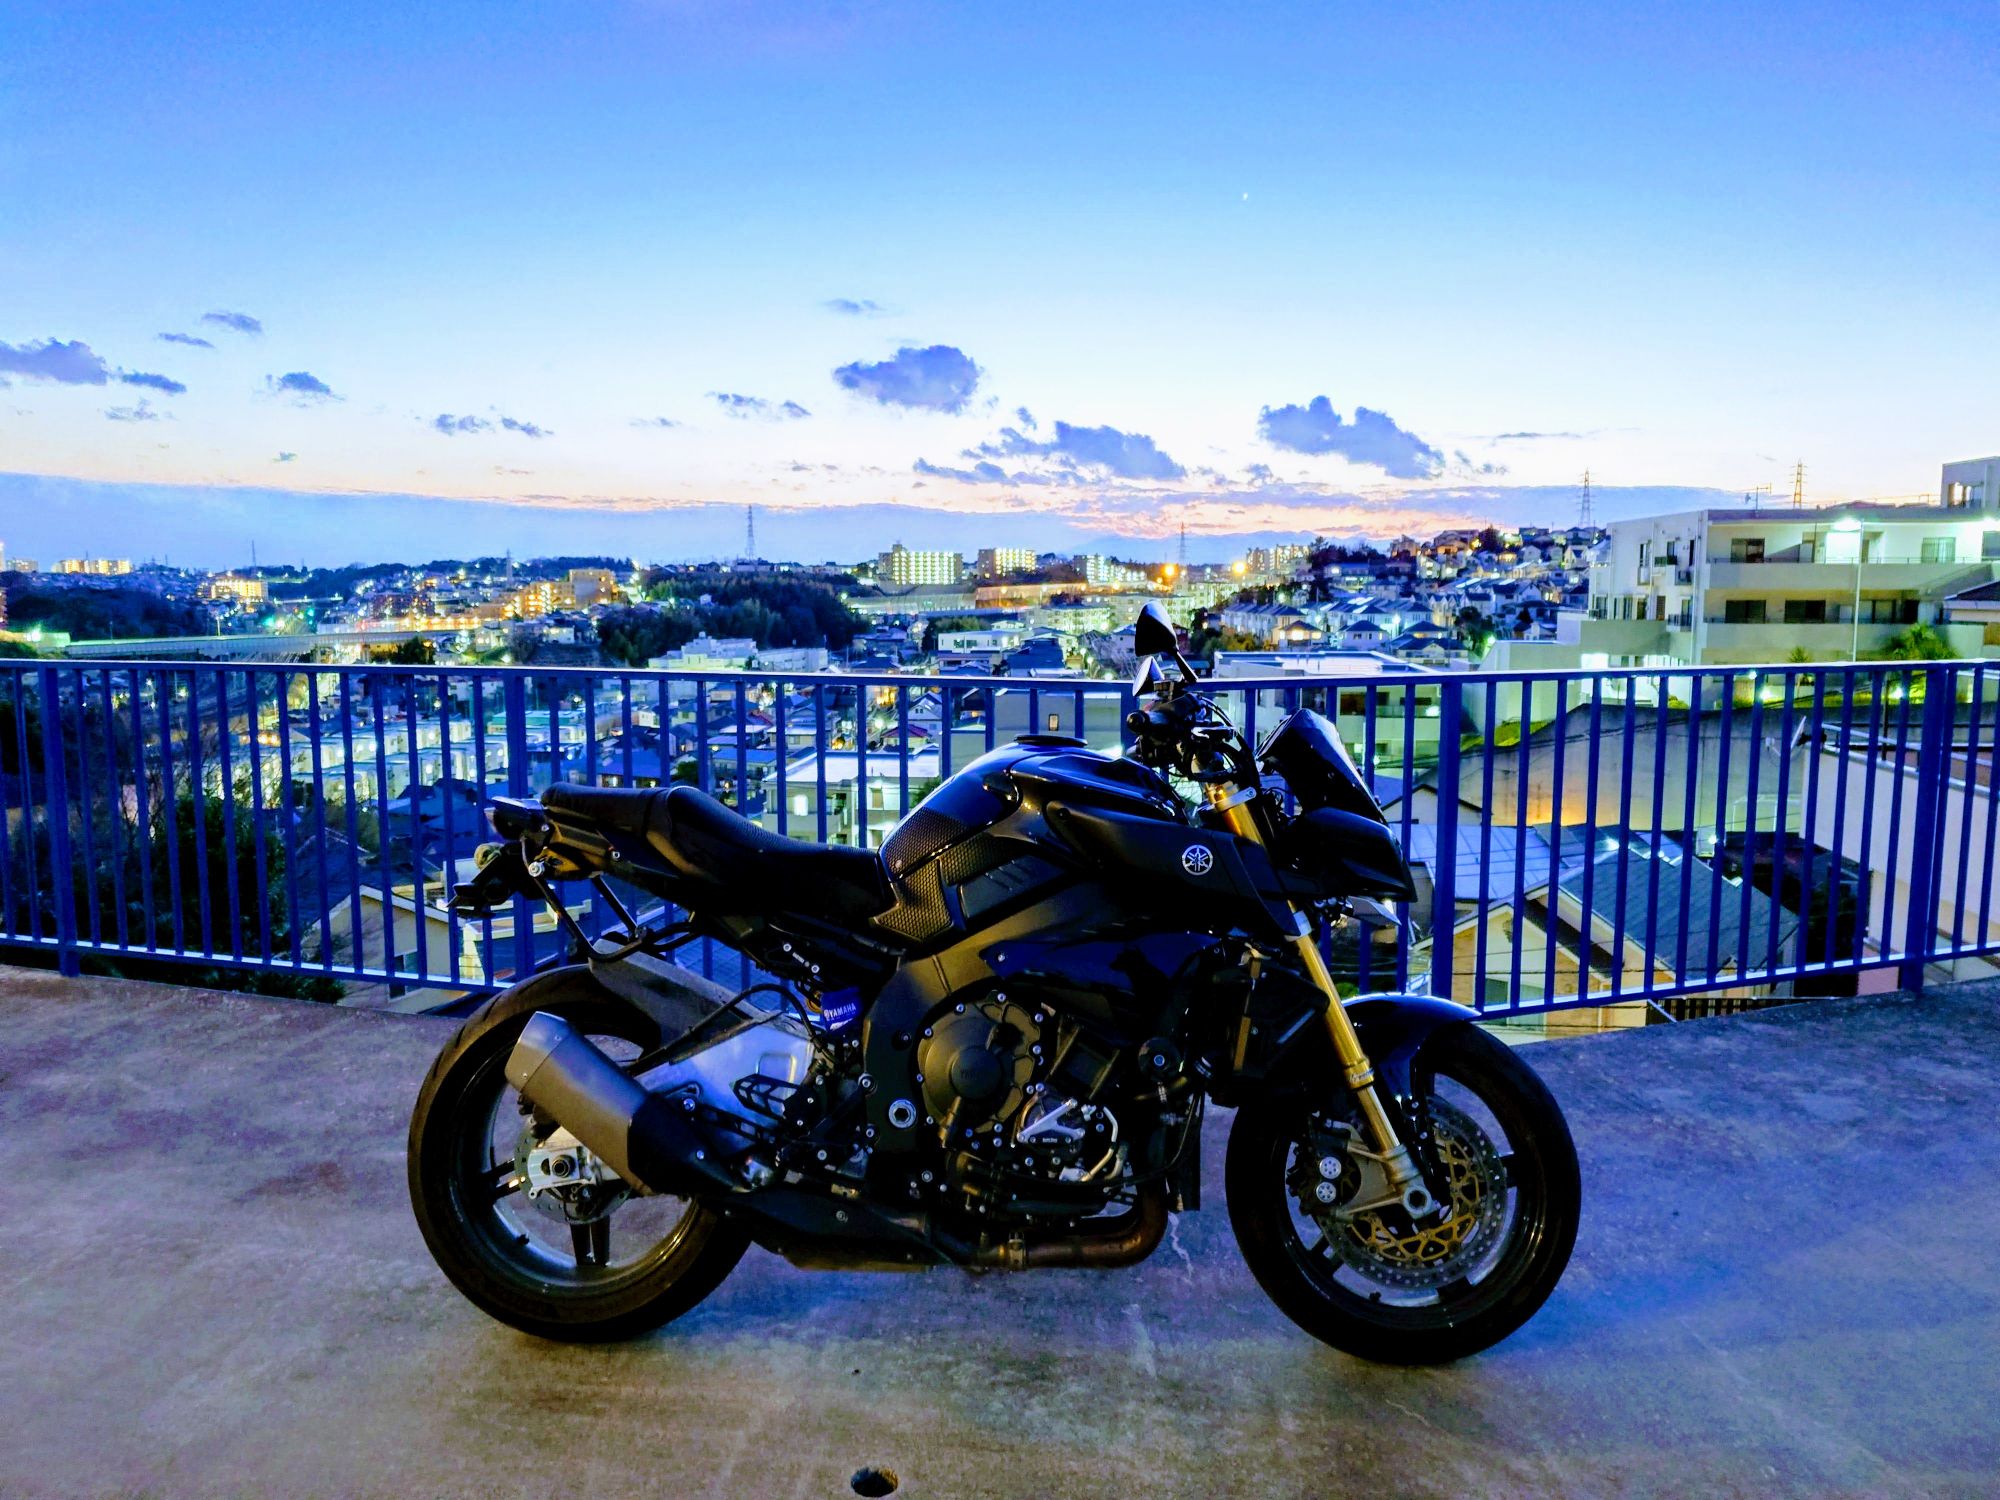
Welcome back MT!

2 minute read

The parts are in and the reassembly has begun.

Yamaha declares that their vibration tuning is key to the smoothness, integrity and character of their bikes so I did a U-turn on massively modifying the front end and instead am rebuilding with new parts wherever the previous parts were broken, damaged or just worn out.

It’s amazing how many individual parts go into this Lego-like front end. I’ll do a parts count up in the end maybe.

Notice the crack in the top left of the lense? It was barely noticeable after the crash but has since, with the cold maybe and some prodding and squeezing, grown into a serious crack. Incidentally, you can’t buy the light by itself. It comes as part of a pre-assembled set, already mounted on the headlight stay like below for around 100,000 yennies. Ouch!

Anyway, it’s coming together and a handy thing is that the whole front end is a single unit that bolts ap to the headstock with just four bolts. That means I can build it up in the comfort of my study with the heater on in my pajamas. 😄

To be honest, this should’ve been done a long time ago but I’ve been distracted by another set of wheels with a lot of nostalgia and deep feelings attached that’s found its way to me…more on that some other time maybe…

The Beast is back!

Like peeling an onion, removing the layers to get to the bolts holding the radiator and busted bits in, which were likely easily accessible before but now cloaked in dislodged plastic and twisted brackets. And once stripped, that radiator was similarly twisted on the impact side and didn’t want to budge. It was a little wedged in there.

Was also filthy as it hadn’t had its usual thorough cleaning after such back roads adventuring. Made for some dirty work.

After removing all the ancillaries and wriggling it around a bit, it came out alright.

Look how that top row has been peeled forward. The whole right side of the radiator is twisted out of shape with small dents on the exiting pipework.

The MT10 has a larger metal and a smaller plastic radiator fan. That smaller one got squished between the radiator and head.

Left some small plastic meltages on the head but seems the radiator indentation took the brunt of the force.

Gotta add a rad fan to the parts list now, too.

Could’ve been a lot worse. Had my fingers crossed the radiator could be salvaged but that’s not gonna happen. Fortunately, the oil cooler below the radiator is not damaged. Filthy yes, deer rammed no.

I’ve already sourced most of the front end parts discovered mangled in the front end teardown. Some parts are new and some are in great condition but used and significantly cheaper.

Now with a complete understanding of the damage, next up will be a complete list of the remaining parts to be sourced, a thorough cleaning and of course opening the wallet for parts.  Then the rebuilding fun begins!

There’s some hair in there! Oh deer.

That’s far more complex than it looked before.

It was just this little DRL. Who knew it hid so much?

Right, let’s start stripping this back…

Oooh…the LED from the DRL still works. Good.

The dash isn’t cactus! Yes!

The impact just uncoupled a couple of connectors. Easy and CHEAP fix. Phew!

Starting it up and…

No error codes funkiness. 🤞

Of course, a test ride could reveal a lot more. Next on the agenda.

Relieved of the carnage, it is far simpler and less hideous.

So, left with a box of parts, some deer hair and some rays of electrical hope.

Next up will be exploring the damage to the right side and radiator.