What a beautiful day for a ride and honing riding skills. I hope everyone had a great day and you are now at or close to the goal in Joetsu.
Firstly, apologies. I’m sorry for being late and keeping you all waiting this morning. Thank you for waiting and the cheers on arrival. It made my year!
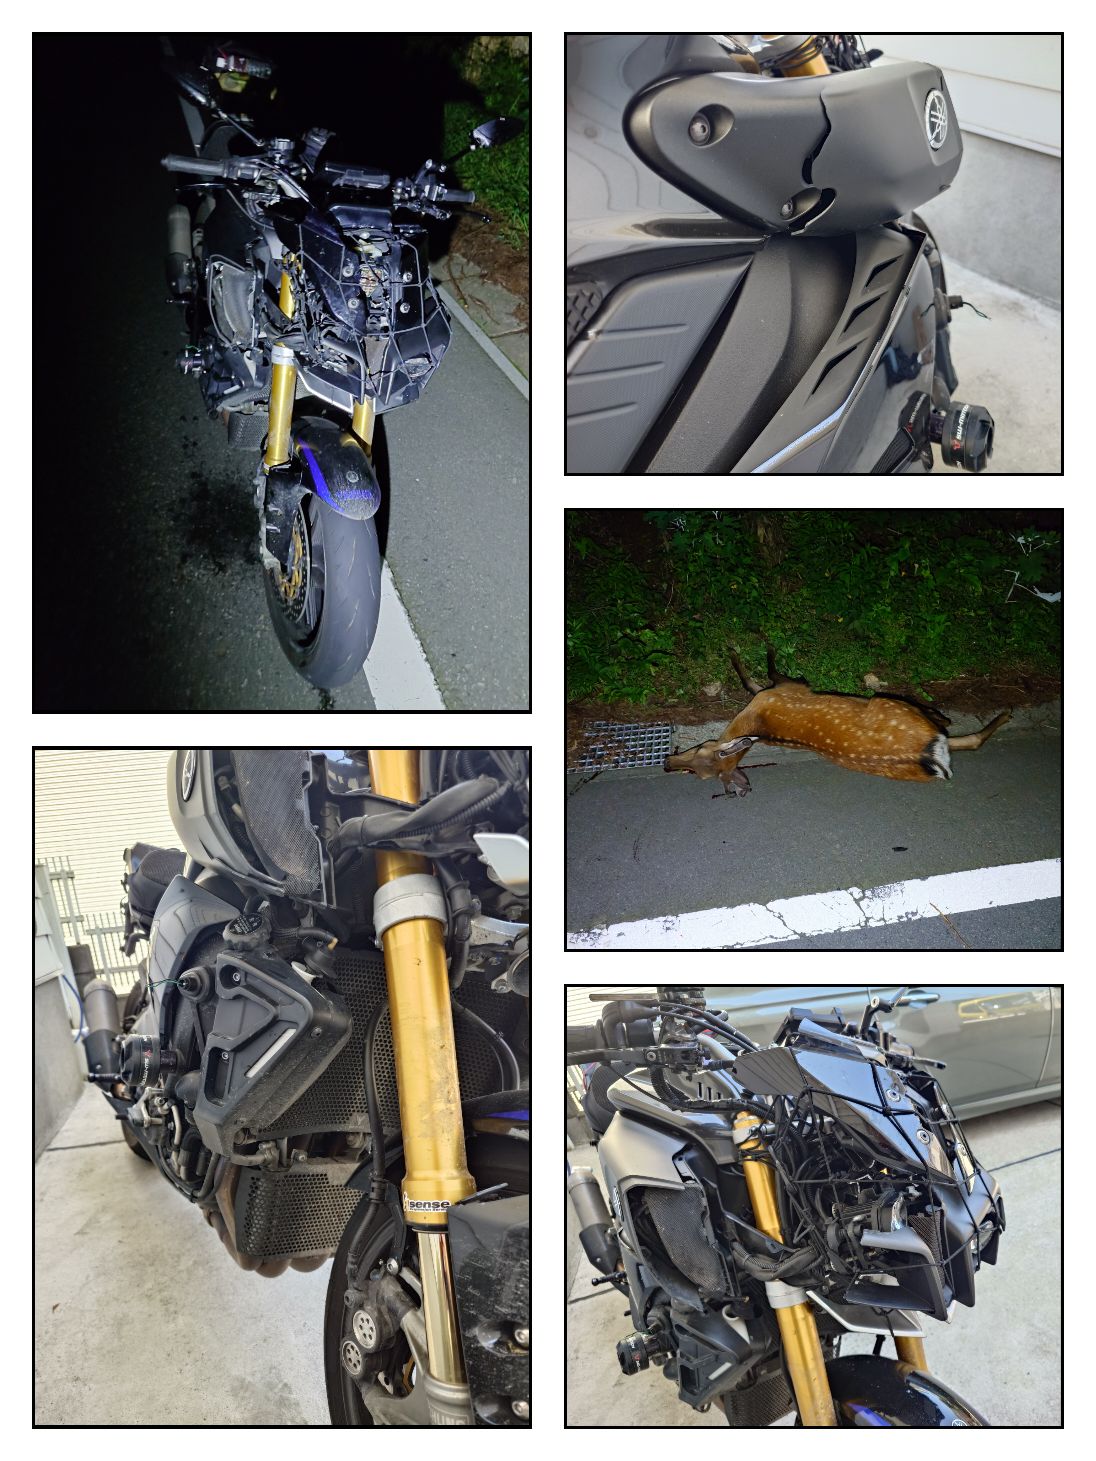
Secondly, I won’t have seen any of you most of the day or be able to see you tonight and say congratulations as the MighTy10 refused to gallop beyond Yamanakako.
Hakone to Yamanakako was a steady 5-7°c. Yamanakako to Enzan was 3-5°. Later in the day up on the 292 at over 2000m it was 9°. Between the cold morning and high altitudes it was warm, 15-22°.
And so the route scouring begins. A lot to unpack 500ers. Check your email!
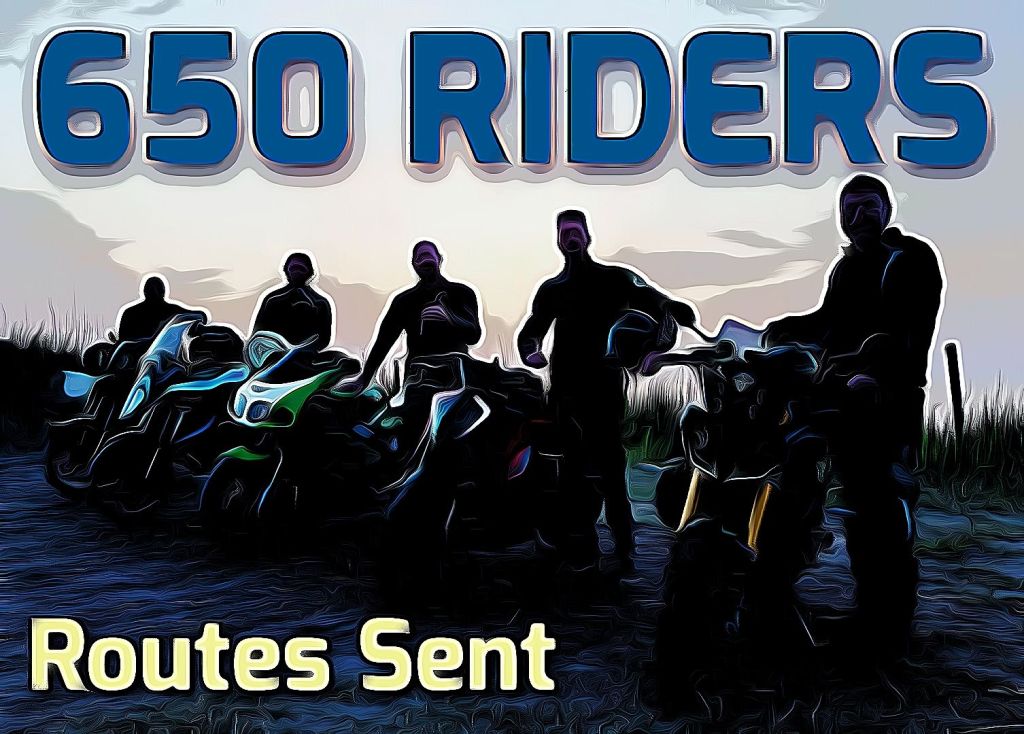
500 course riders, your routes have been sent.
If you didn’t get yours, check that your email received a confirmation after registration. If it didn’t receive a confirmation, best try registering again.
As you regulars know, all entrant details are deleted after each event so I can’t send out routes without you all registering. Thanks for your continued participation and sign up asap as registration will be closing next week.
Long course 650 riders, expect yours over the weekend.
It’s important to maintain a low stress environment to enjoy the road more on a long and challenging ride like the C2C Twistybutt. With just under 3 weeks to go, let’s look at 20 thingss a lot of Twistybutts use or do to keep the stress and worry away.
The Coast to Coast is a long day with a huge variety of roads and weather conditions. To maintain energy and concentration, it helps to minimise stress and maximise enjoyment. Makes sense right? So how can we do that?
On those long rides, like the C2C, plenty of riders get seperated from their friend or group of friends at some point resulting in a stop to call and arrange a meeting point. It’s half the fun for some…
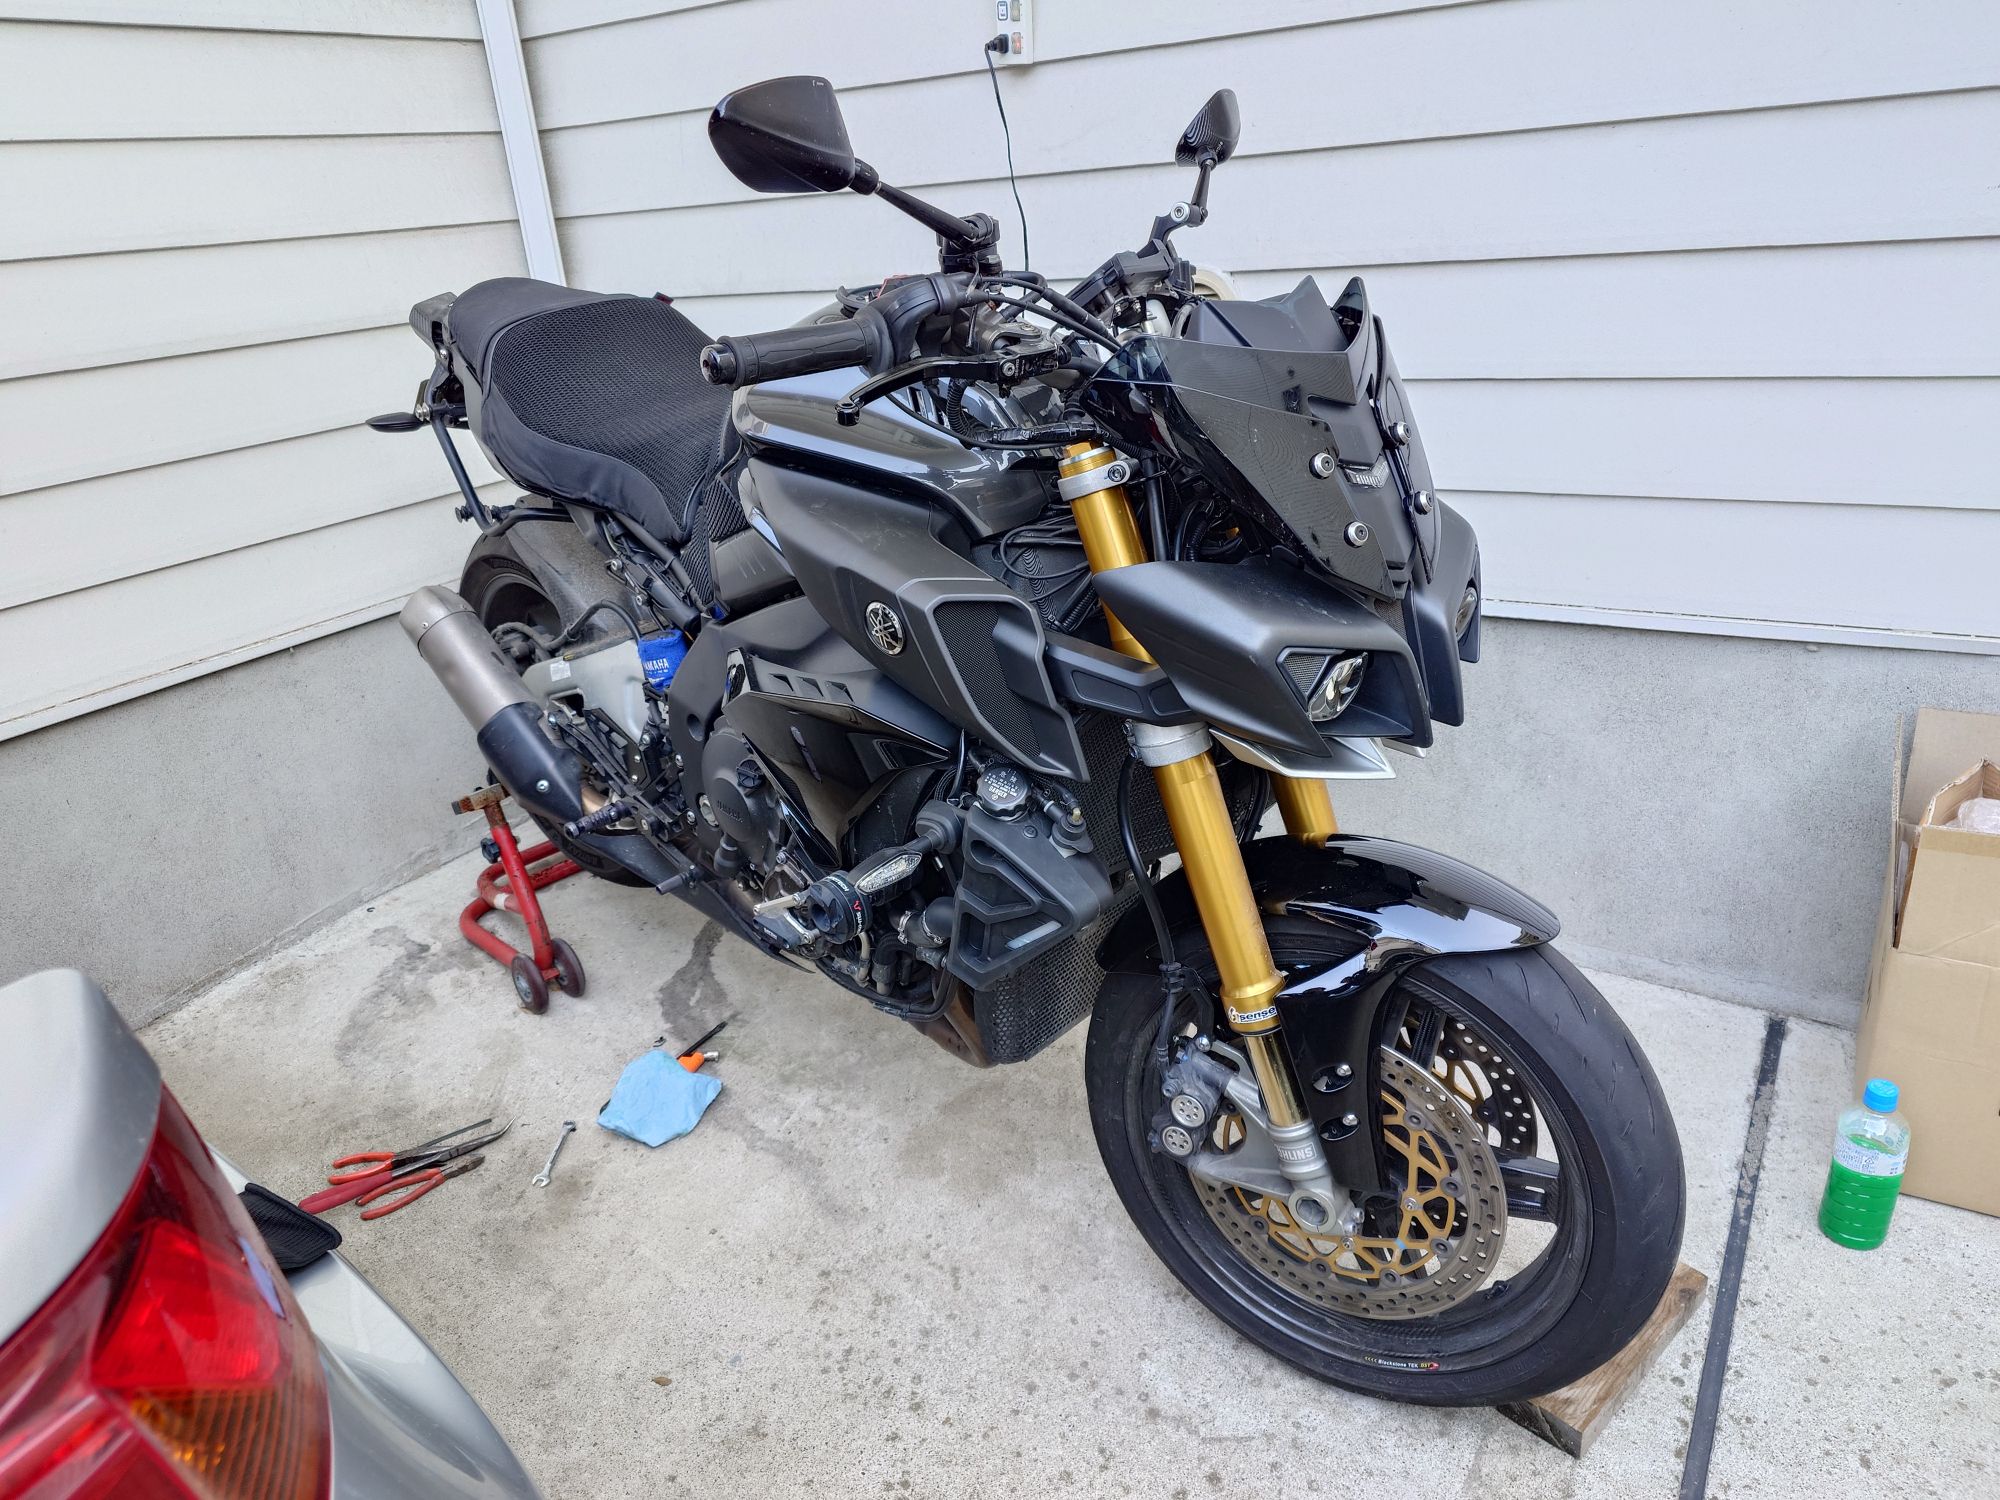
Well, got the radiator and everything forward of the seat done and left the rear end till last.
First up was swapping the dented muffler for an R1 muffler that’s almost the same…it fits.
Might swap it back though as it’s not cosmetically the same. Sounds the same though…
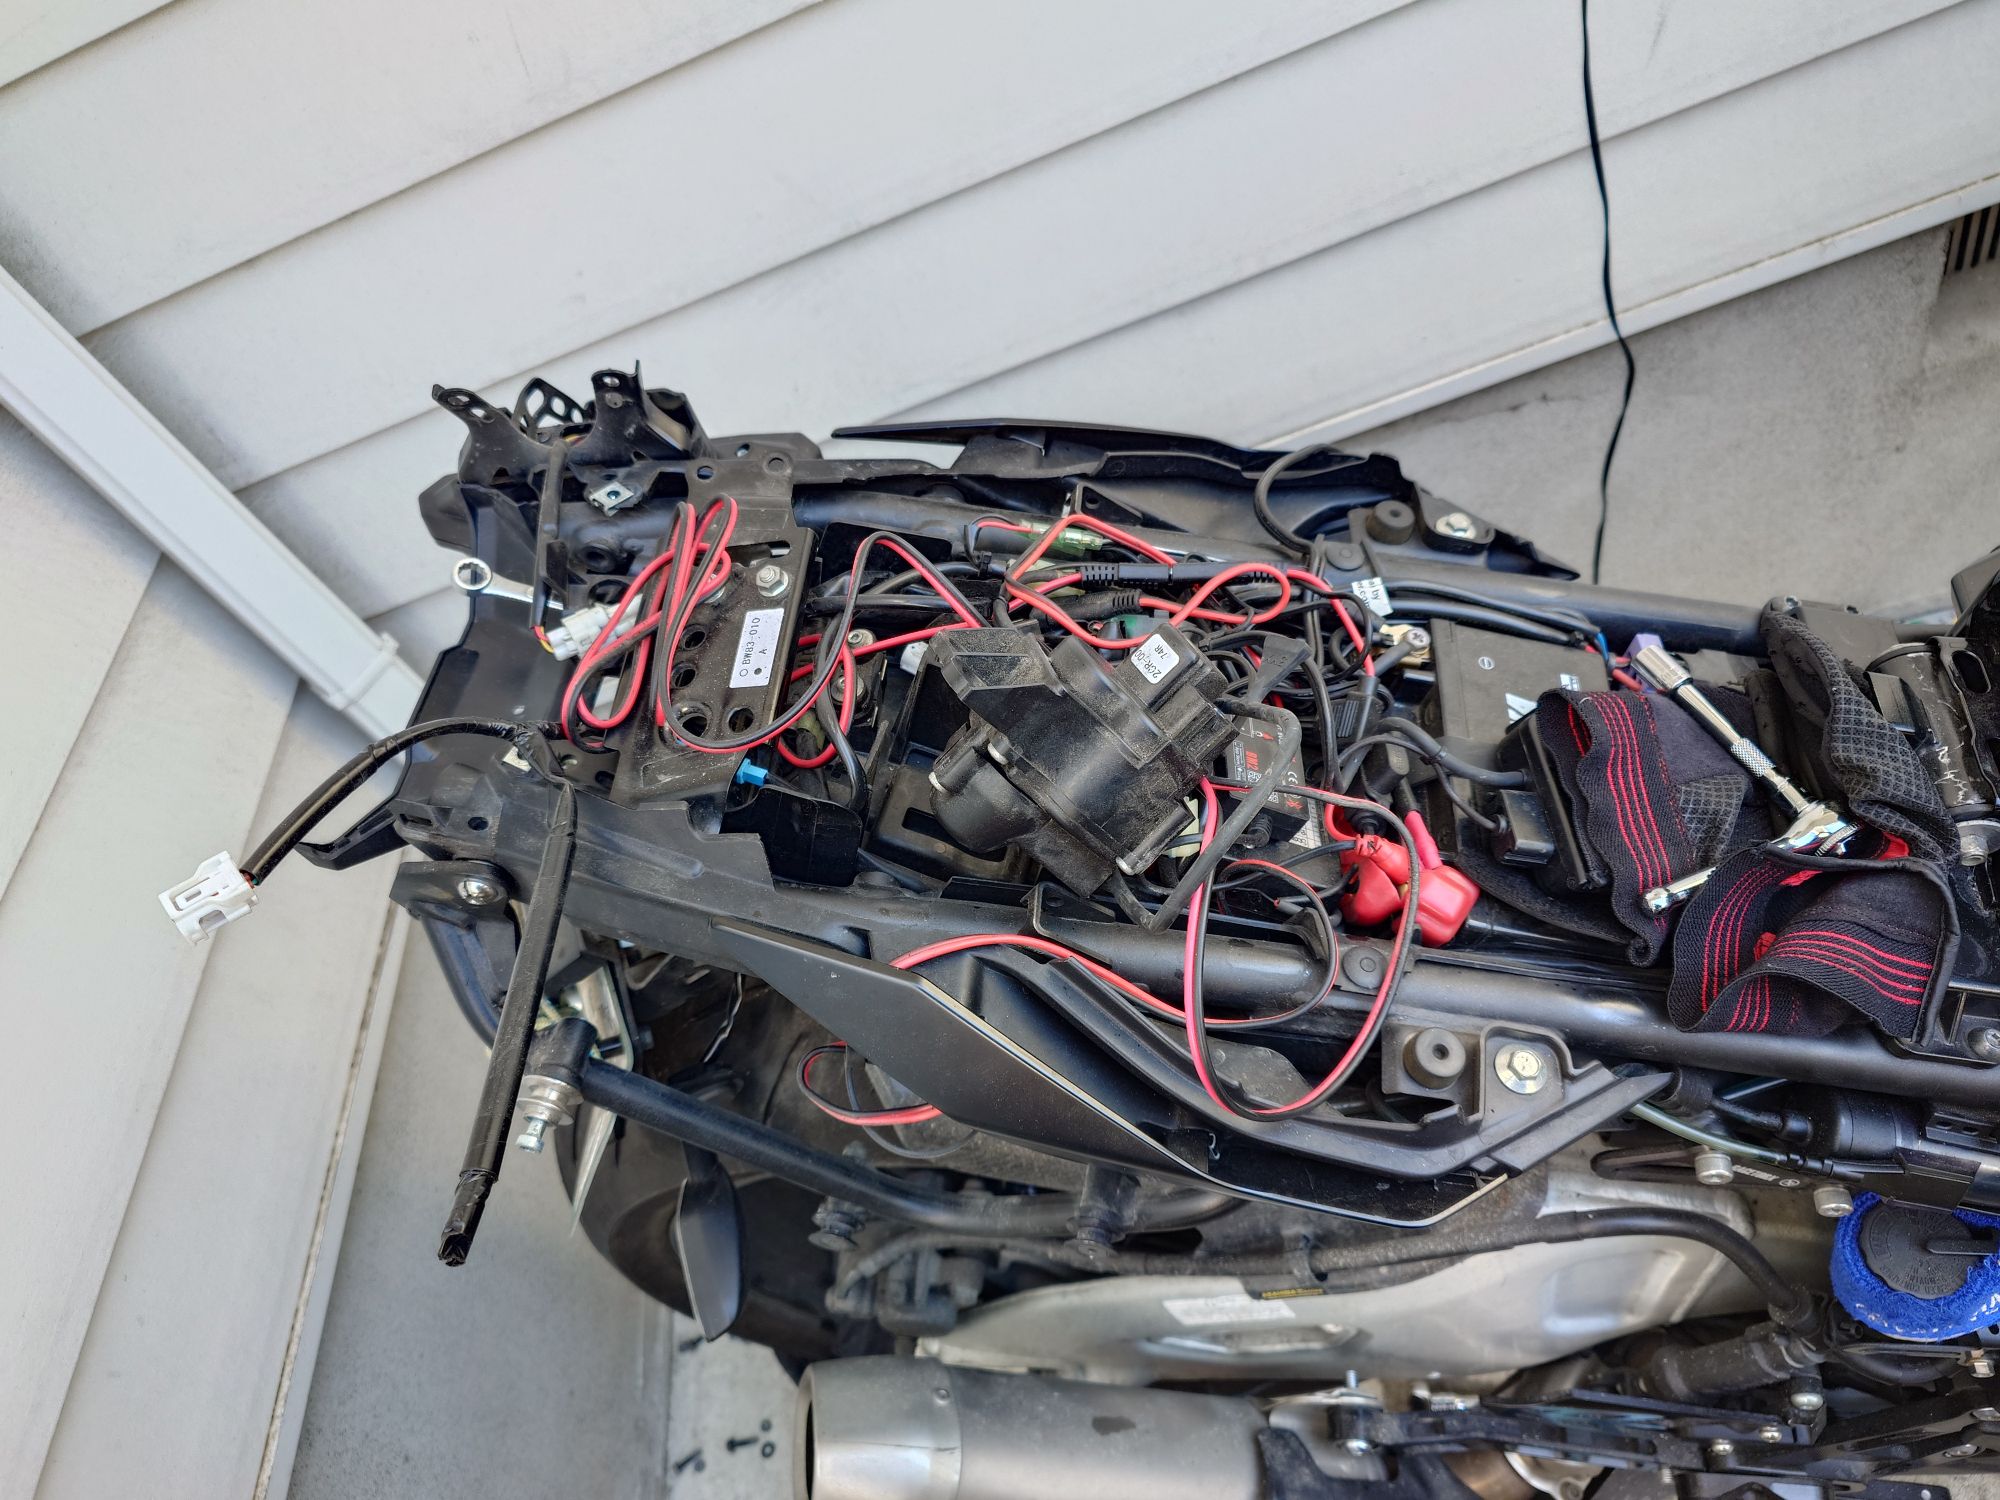
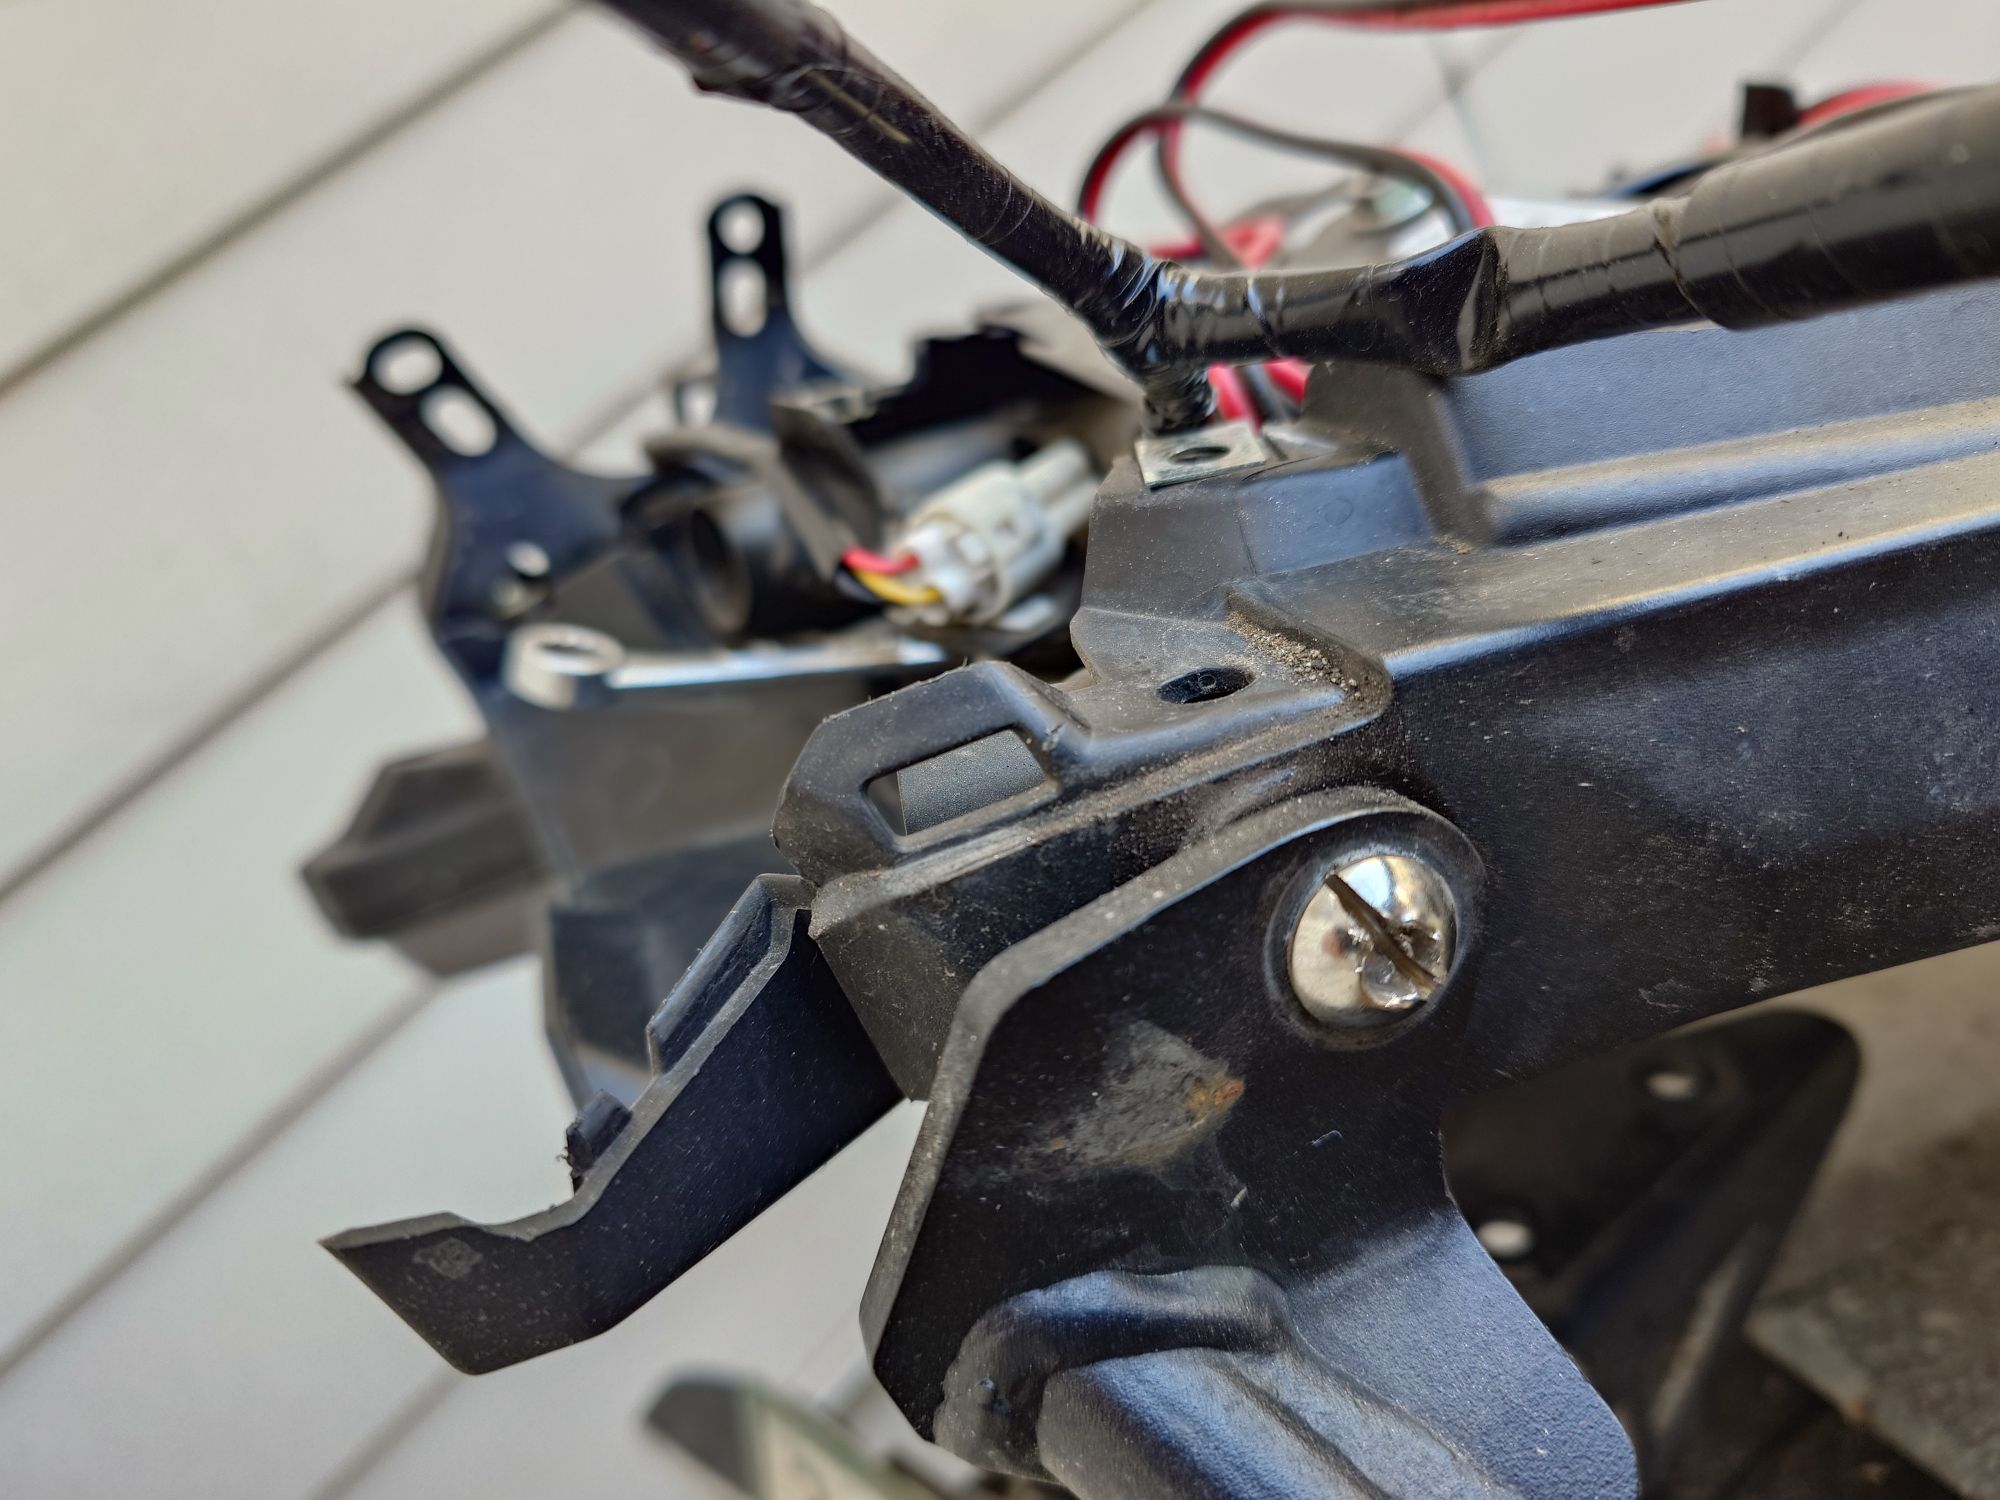
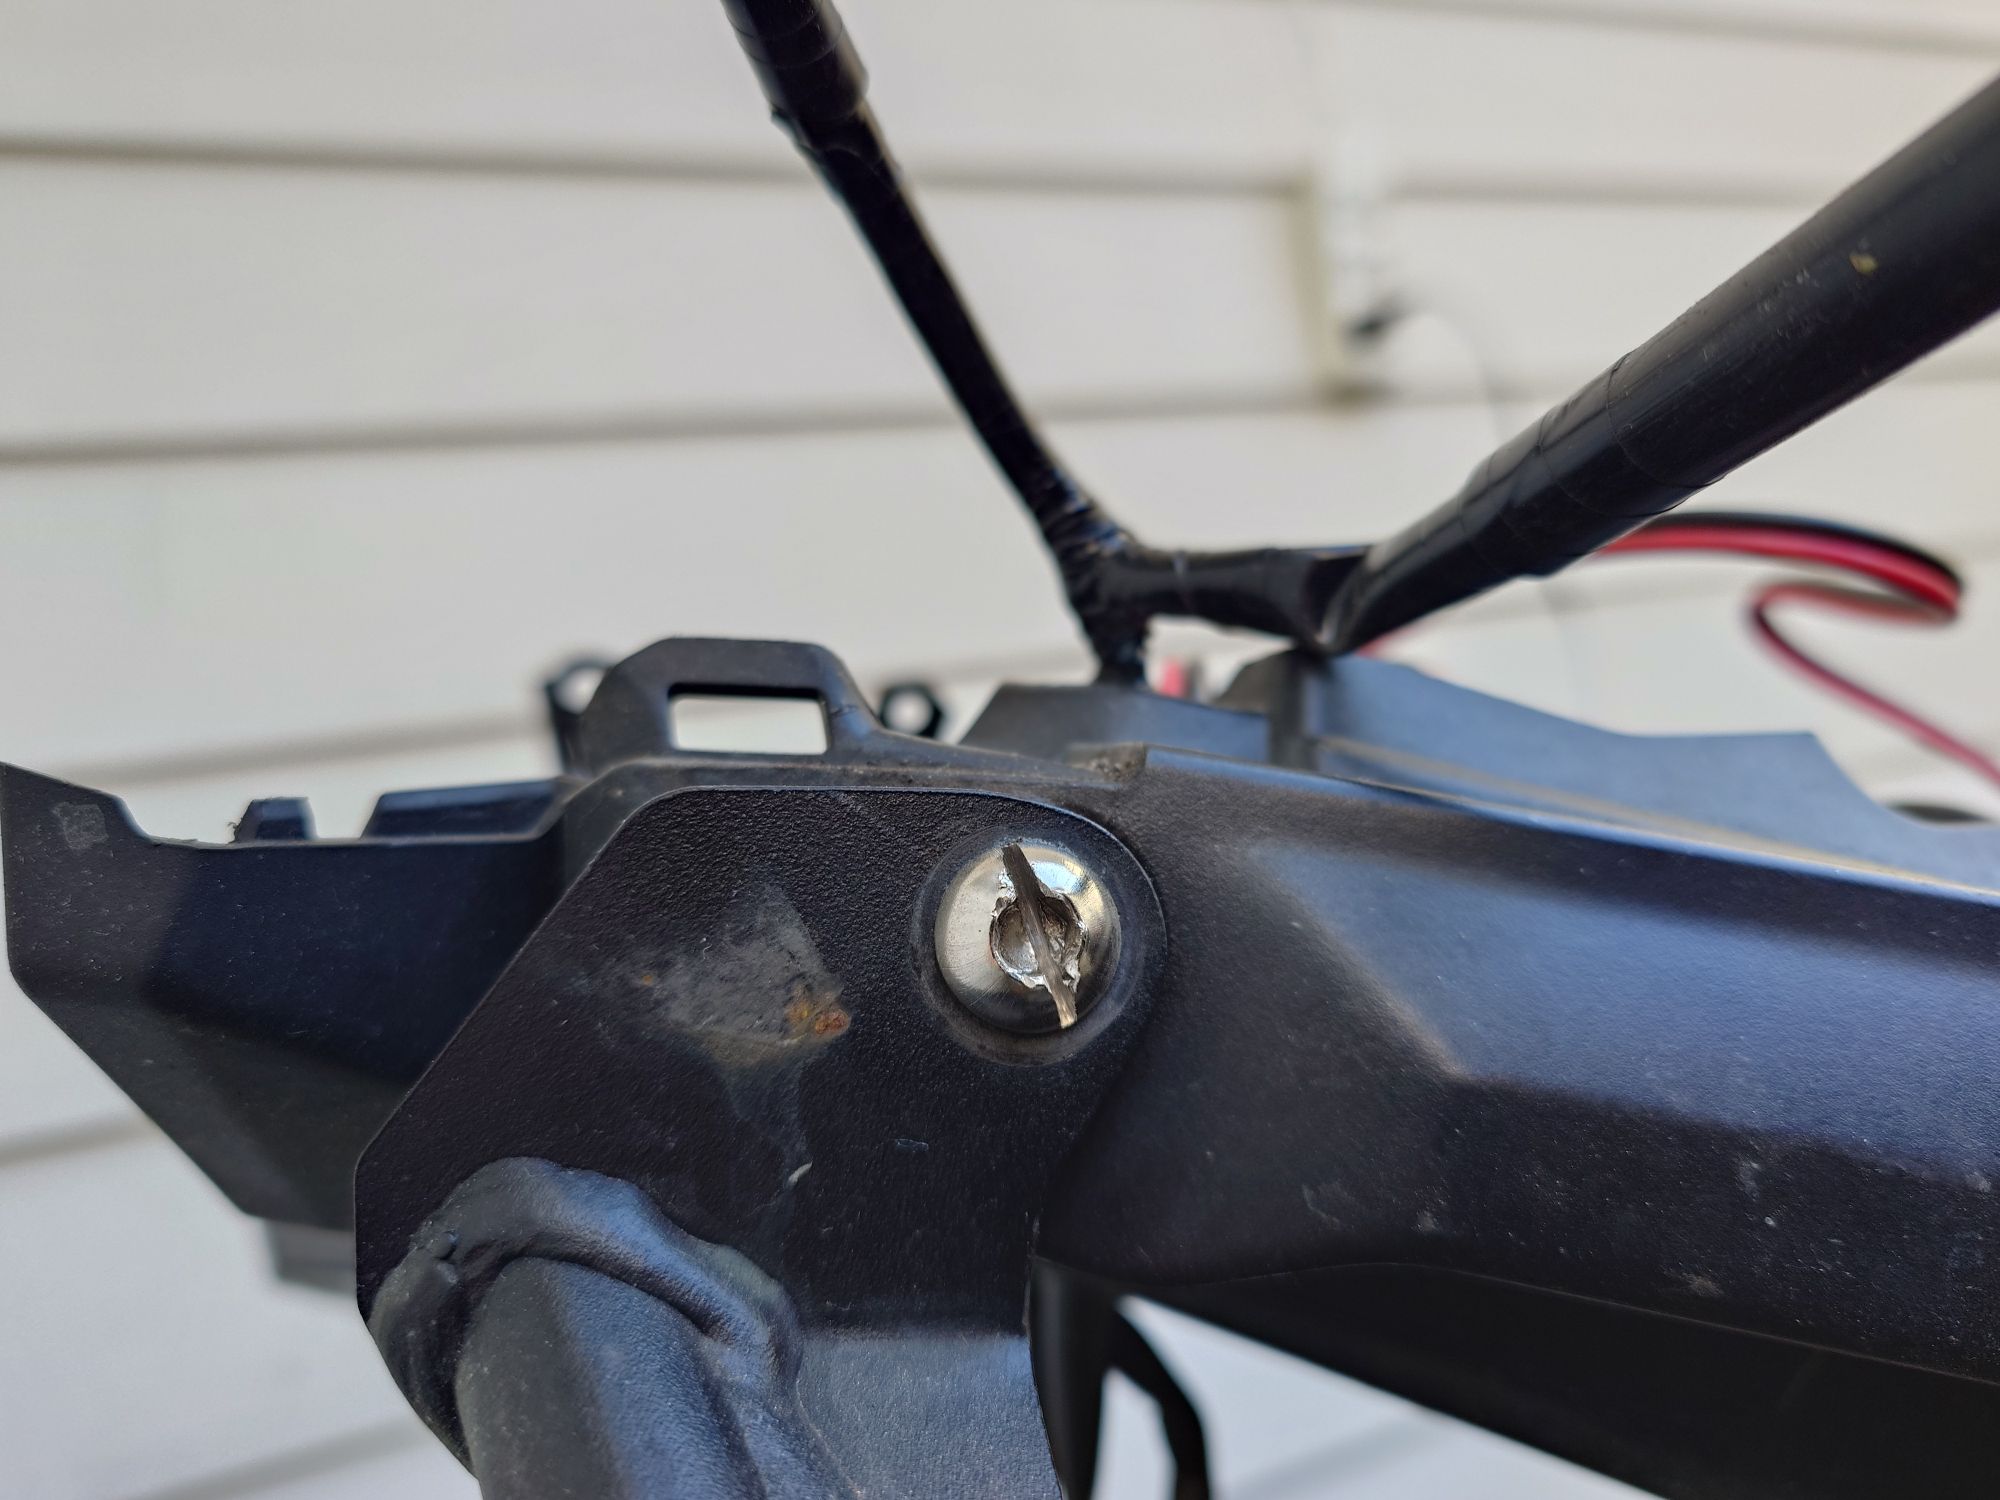
Getting to the indicator wiring is usually simple enough…
Except…
This replacement bolt I put in with the panniers rack a couple of years ago was forged from cheese. 👎
With a little gumption and ingenuity, got it sorted and everything back into the spaghetti pile. The screw that tried to screw me stayed where it was. I’ll have my revenge later!
The home stretch…
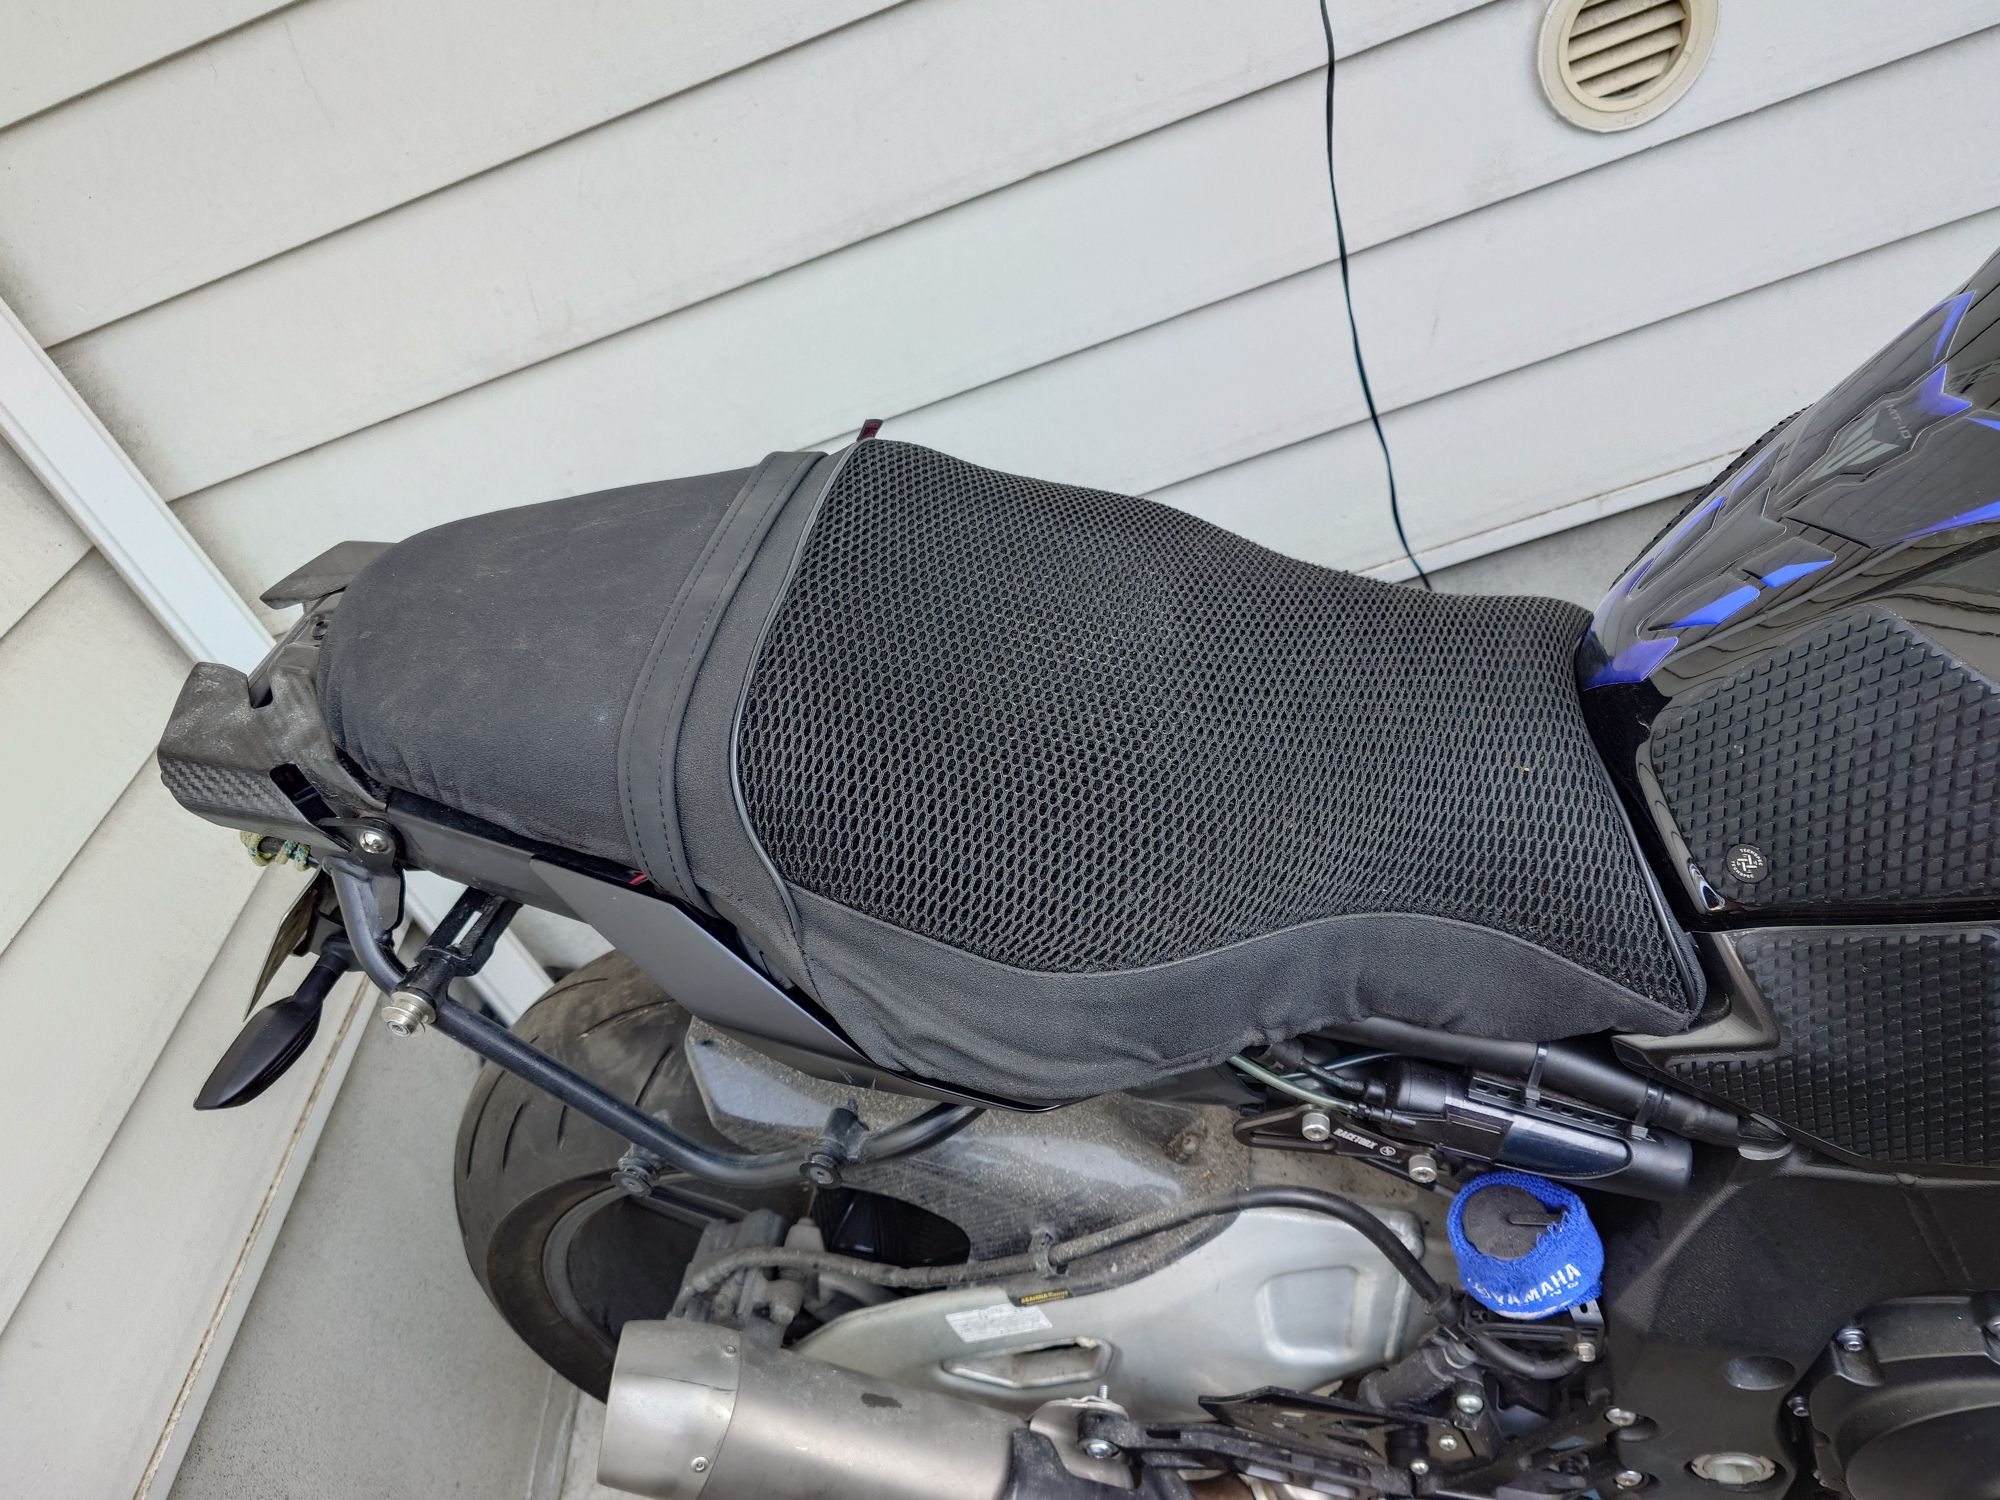
With the seat on, you’d never know the cursing the wiring caused.
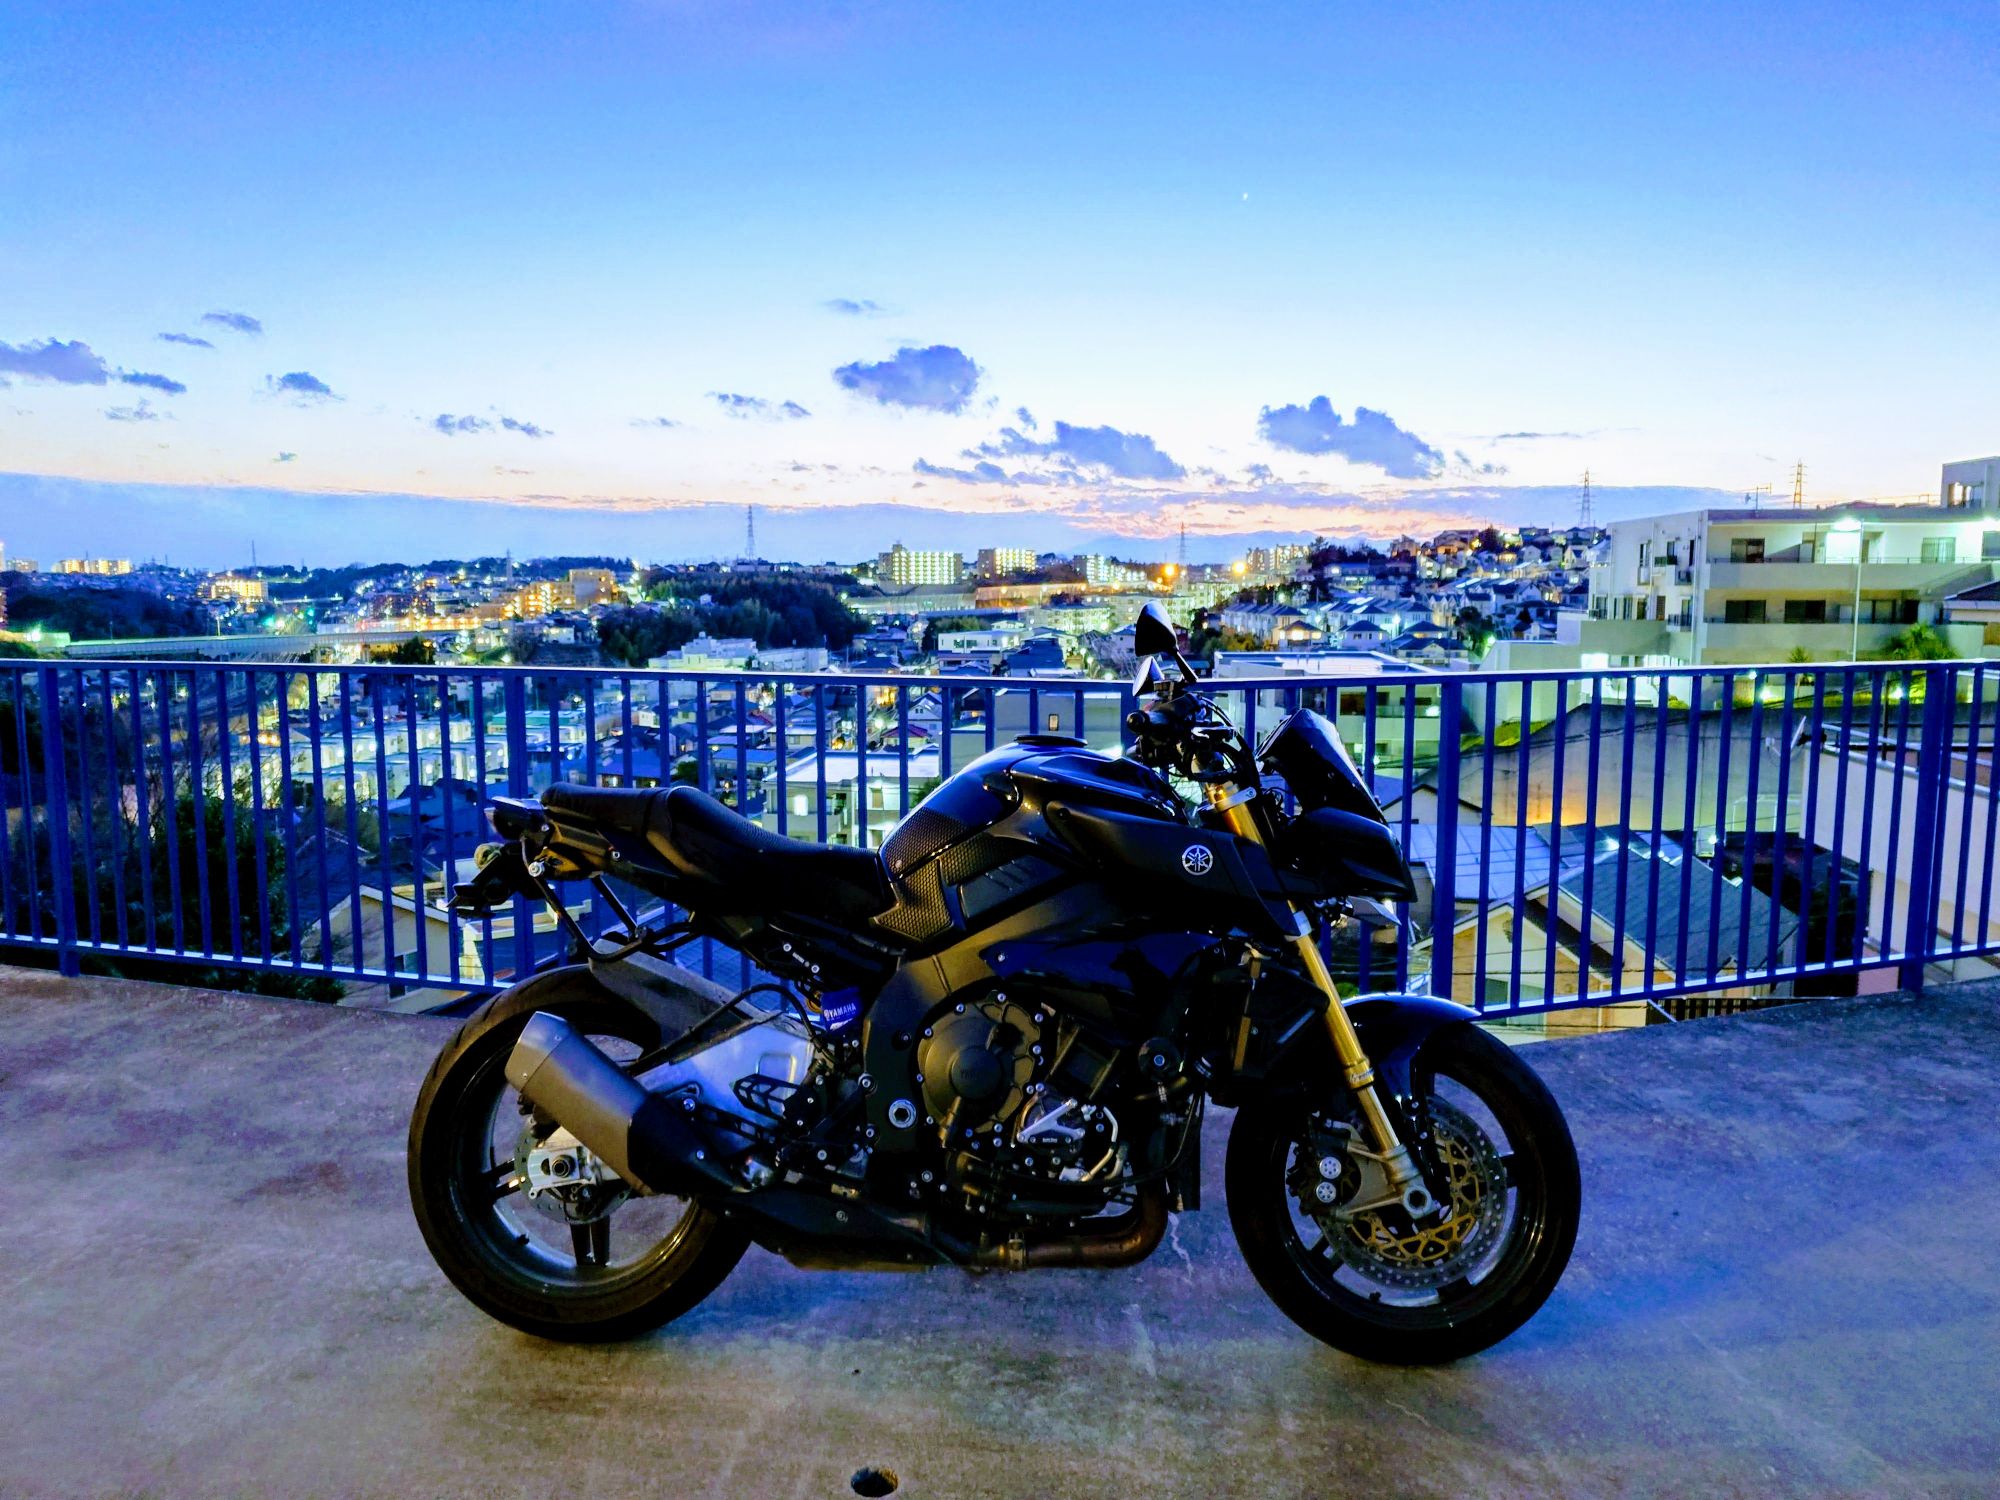
Ta-da! Like new…almost.
First ride was around the block and local park. A few streets in and discovered the Quickshifter wasn’t working. Somehow it had turned itself off in the crash. Pulled over, got into the menus and it was as simple as turning it back on.
Then headed home for dinner to let the radiator cool down before topping it up.
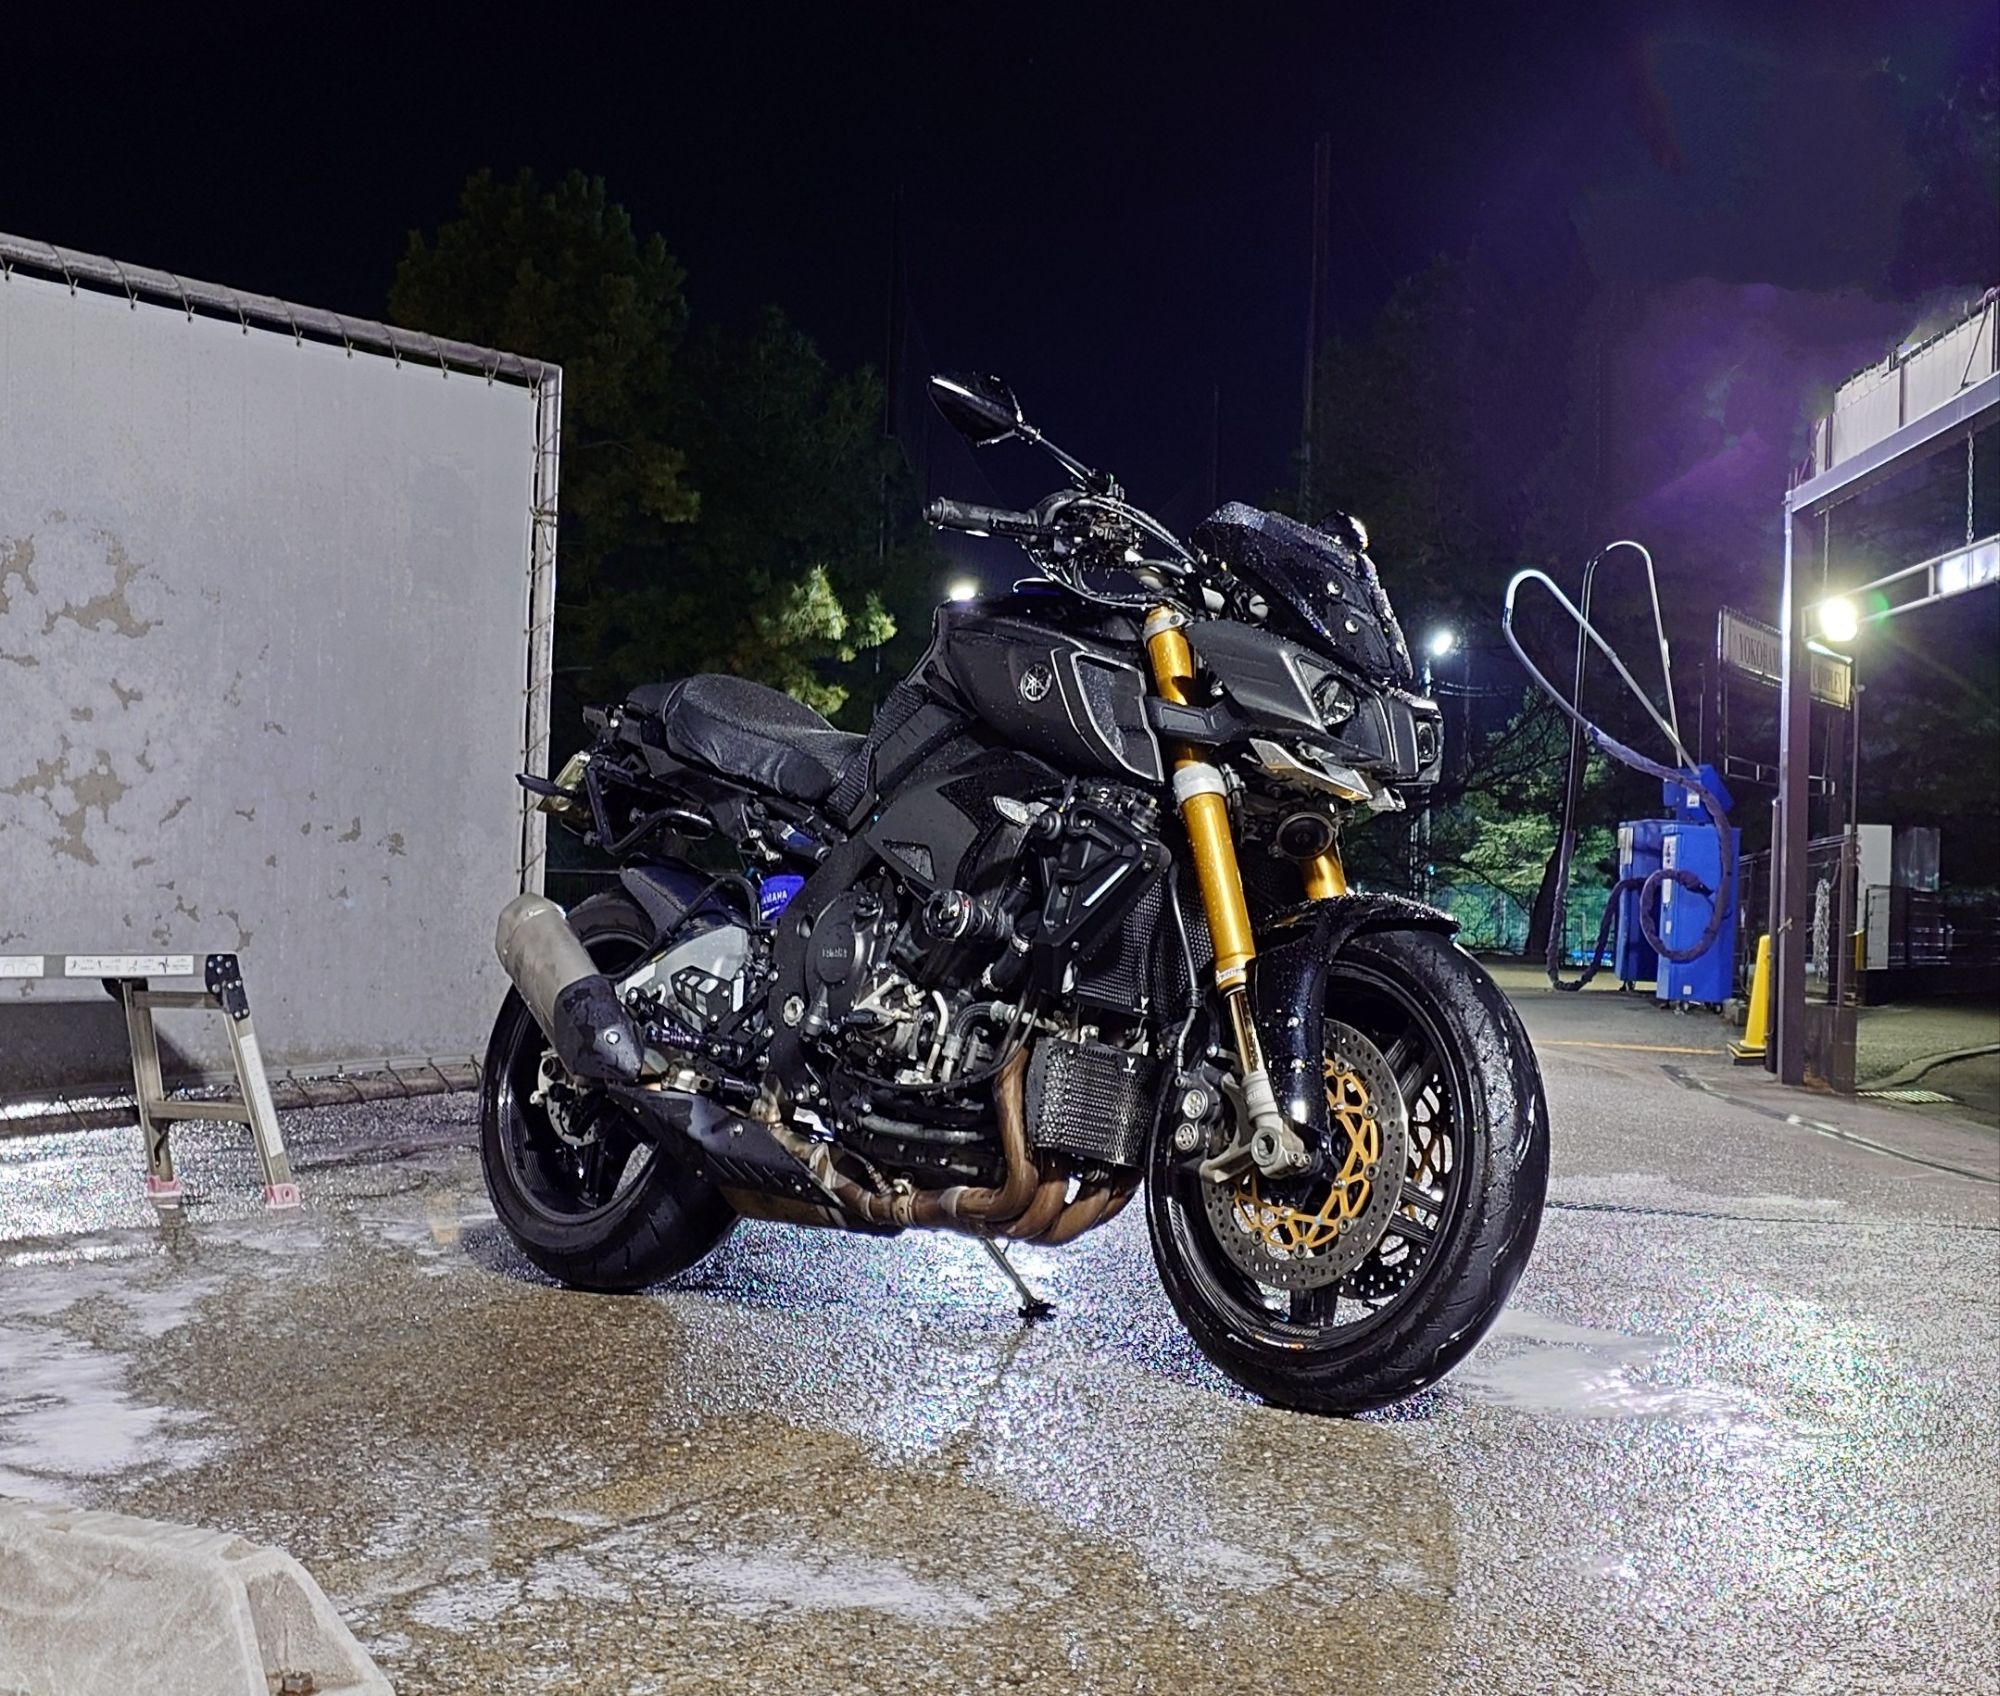
After dinner, topped off the coolant overflow tank and radiator then set off for the first real clean in months. Came up great!
I swear it was smiling, even though it was less than 5°c.
With that clean followed by a 50km shakedown ride, the carnage and destruction was washed away and old MighTy is back in the game!